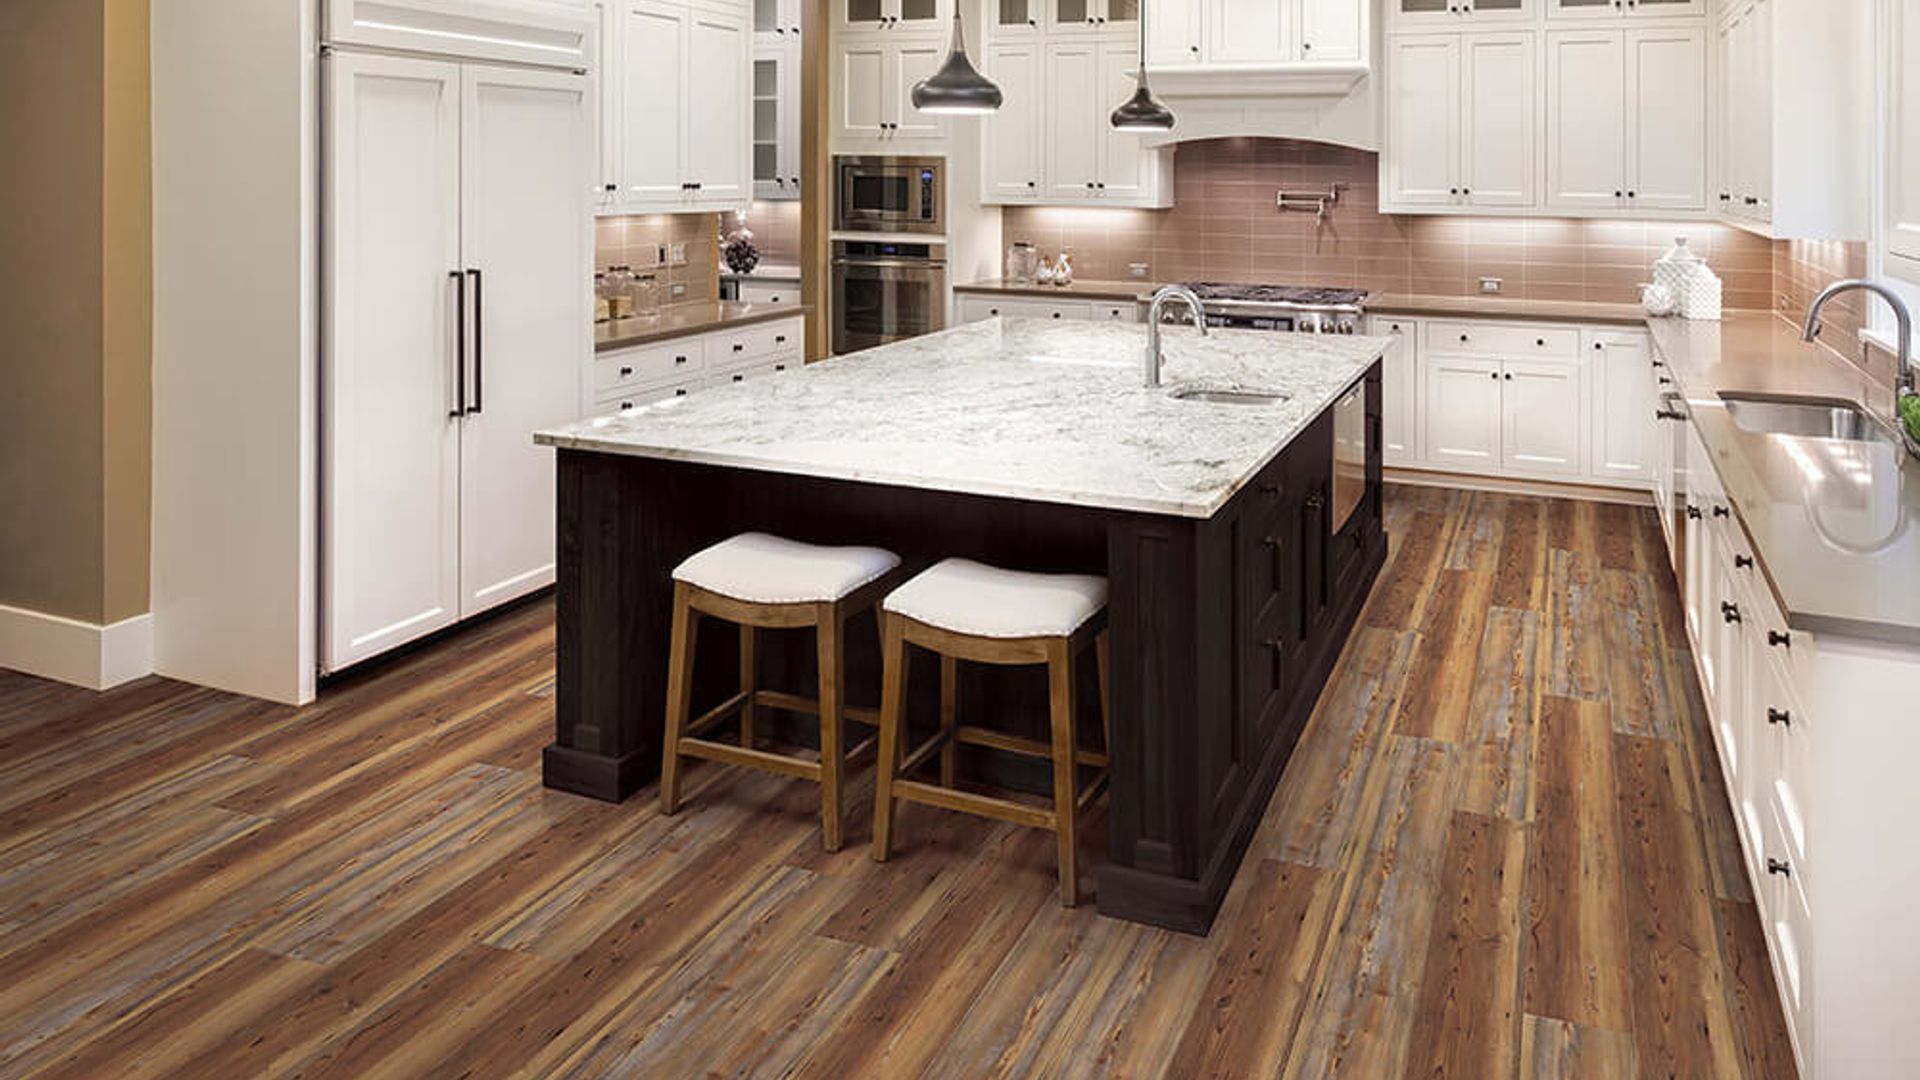
Why Coretec Flooring is the Ultimate Choice for Your Home
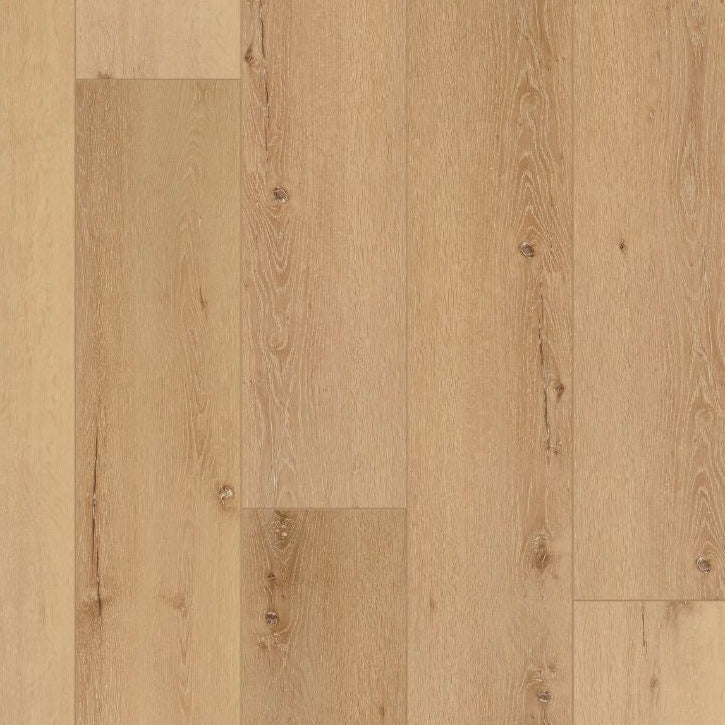
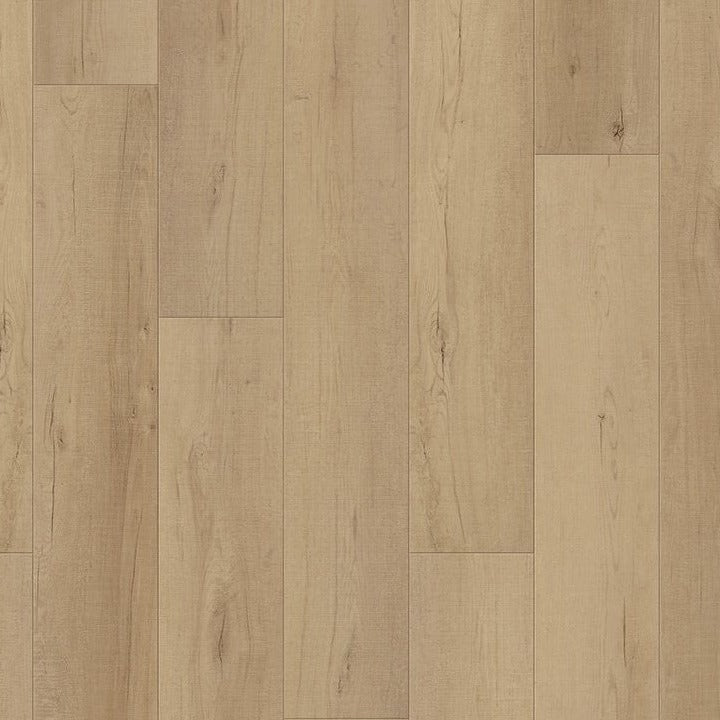
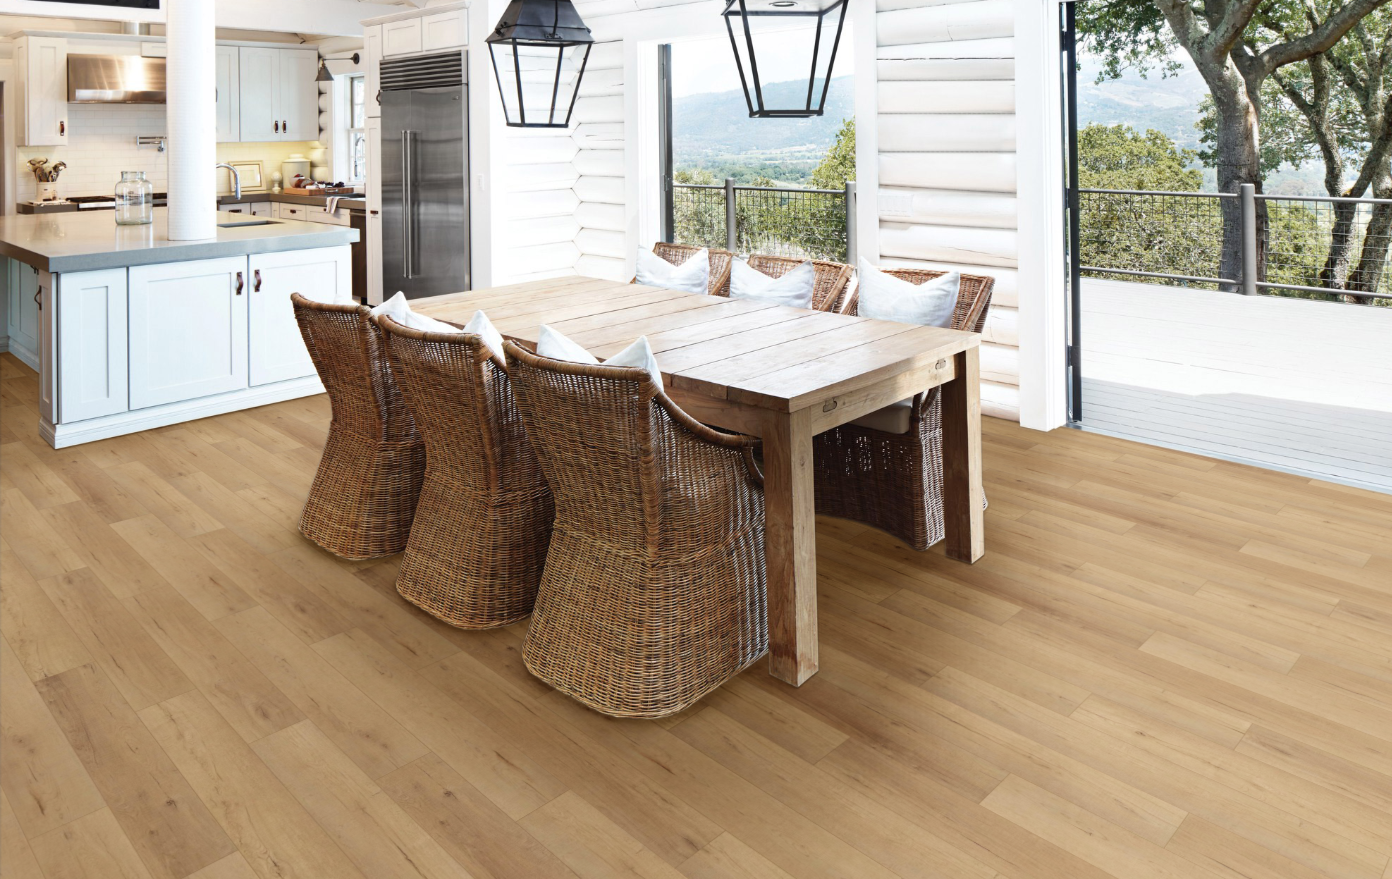
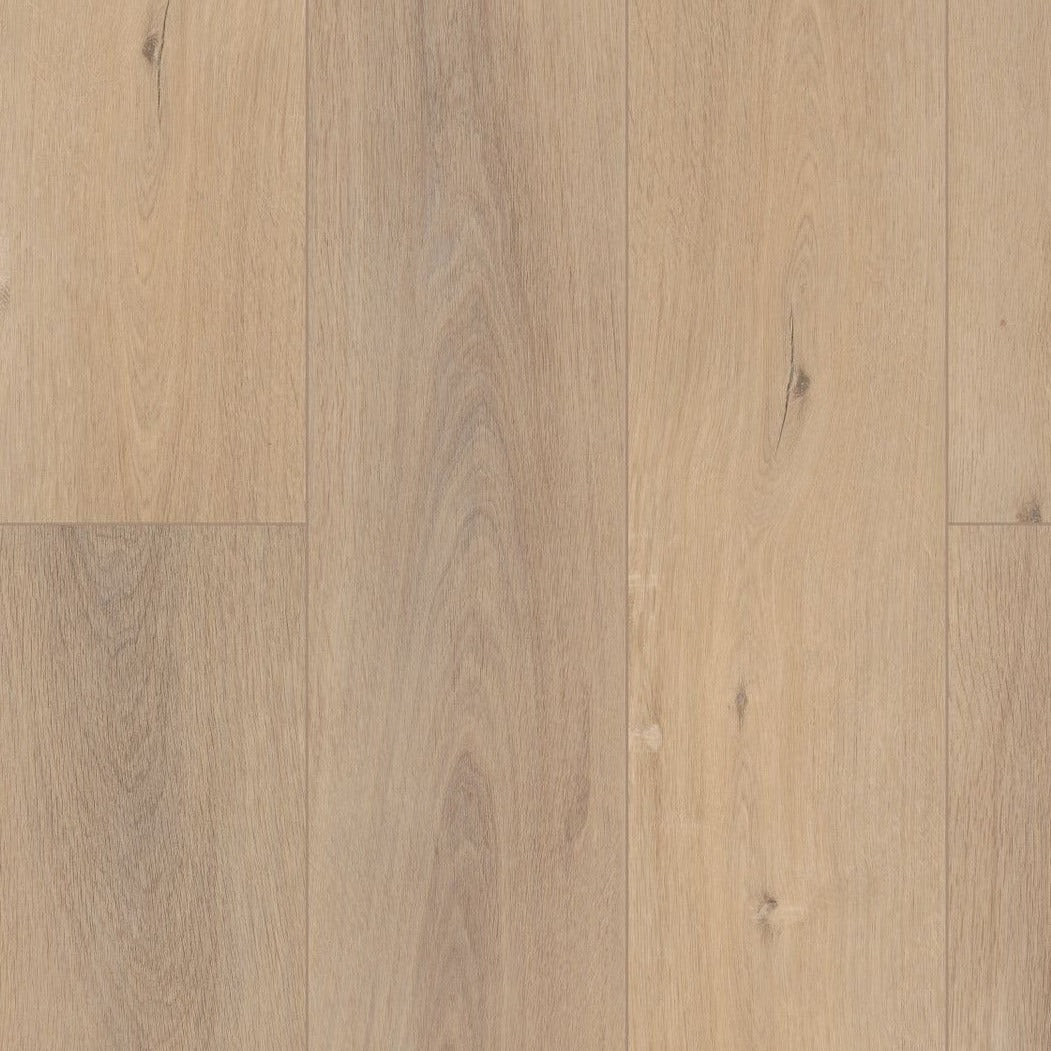
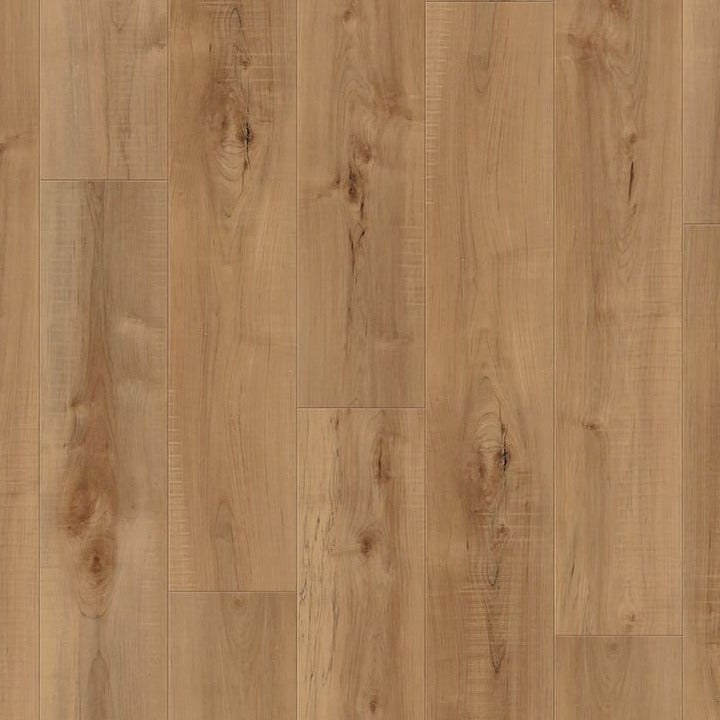
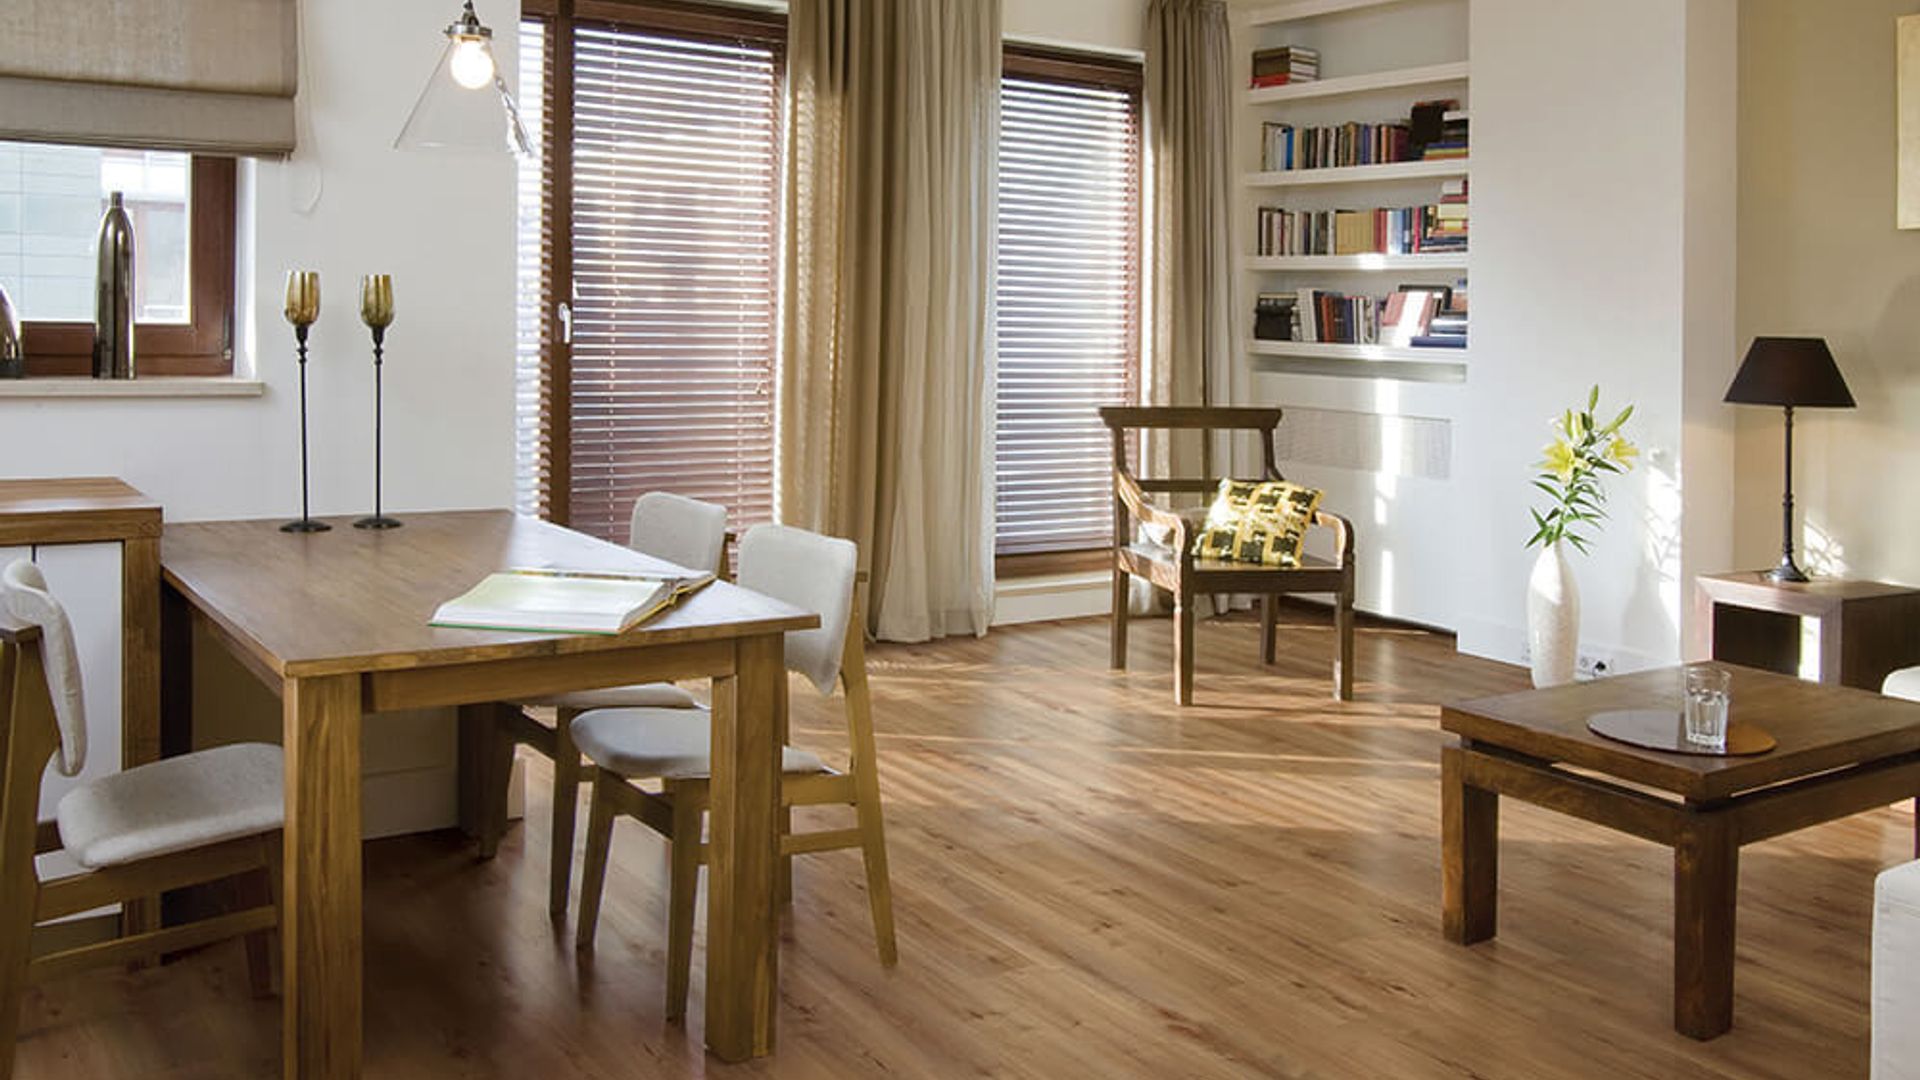
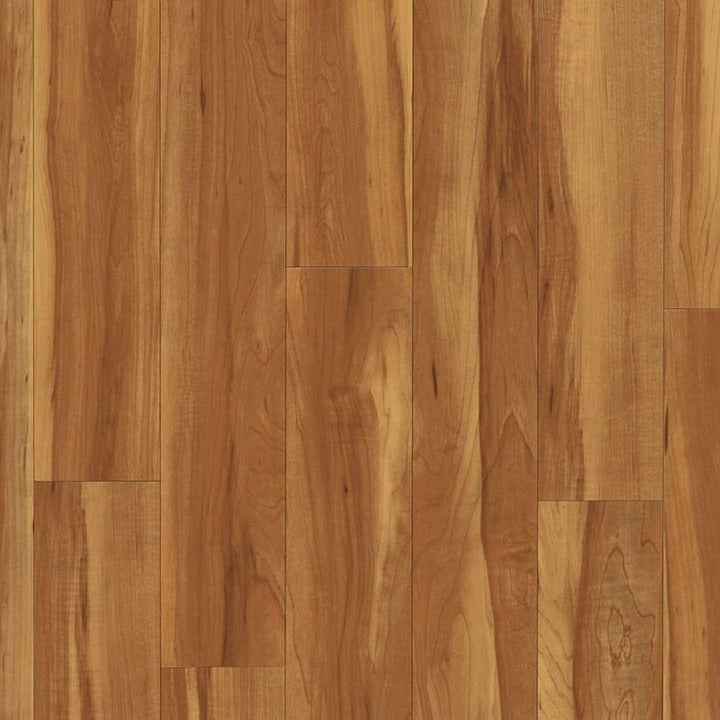
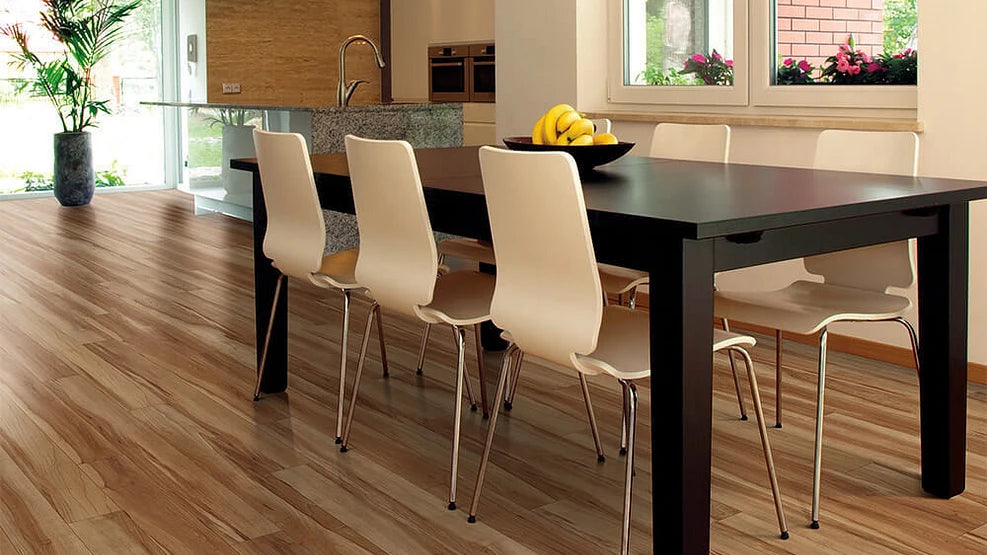
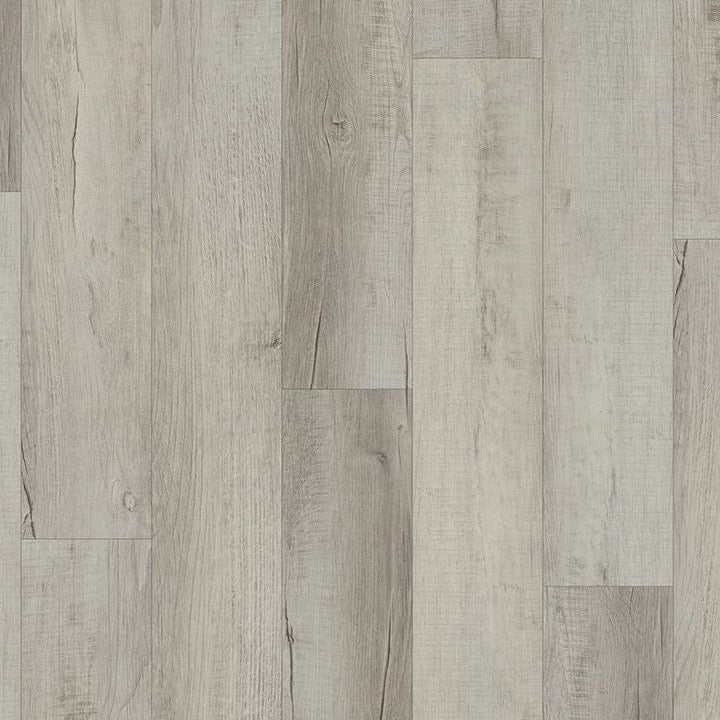
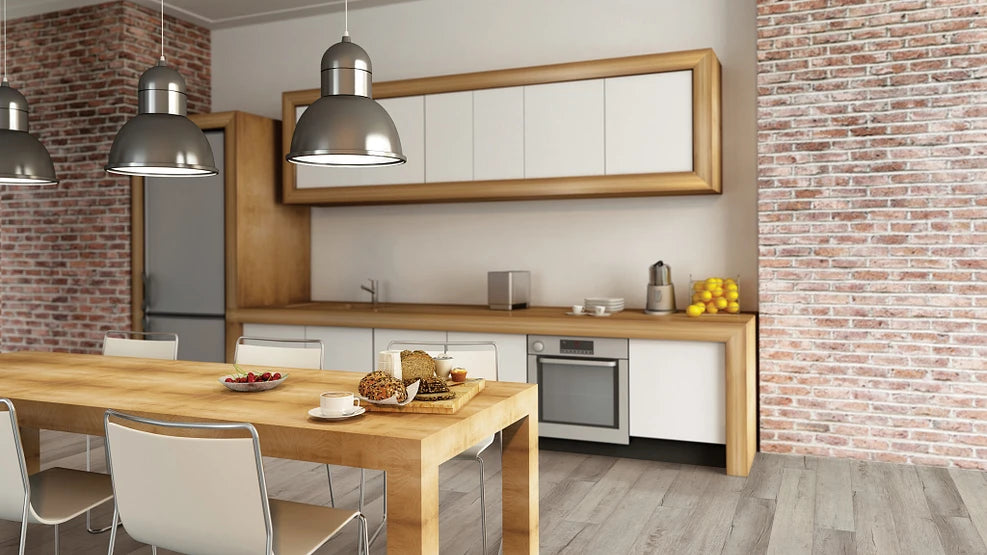
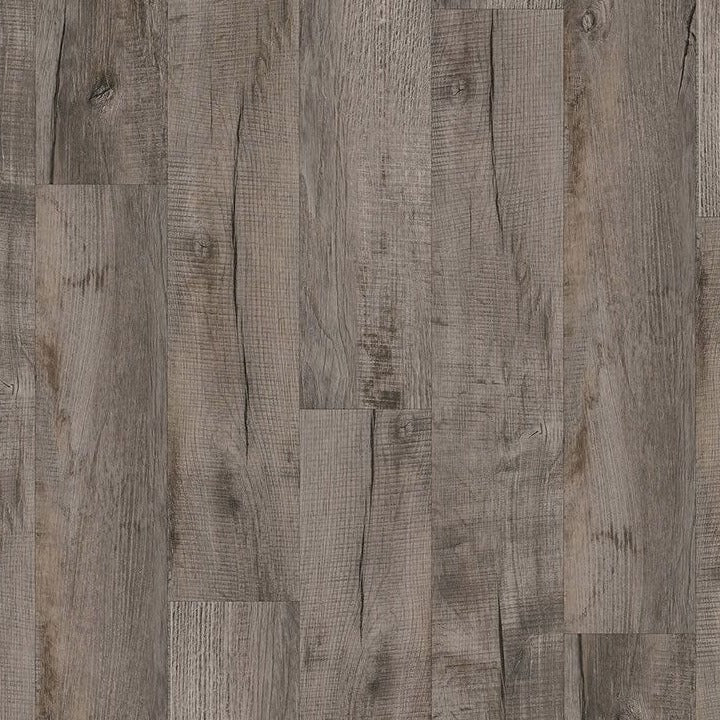
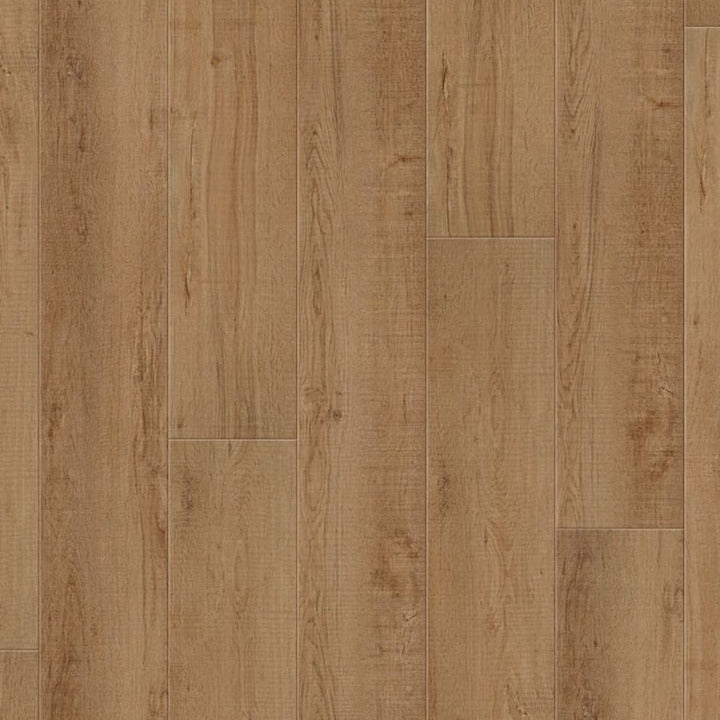
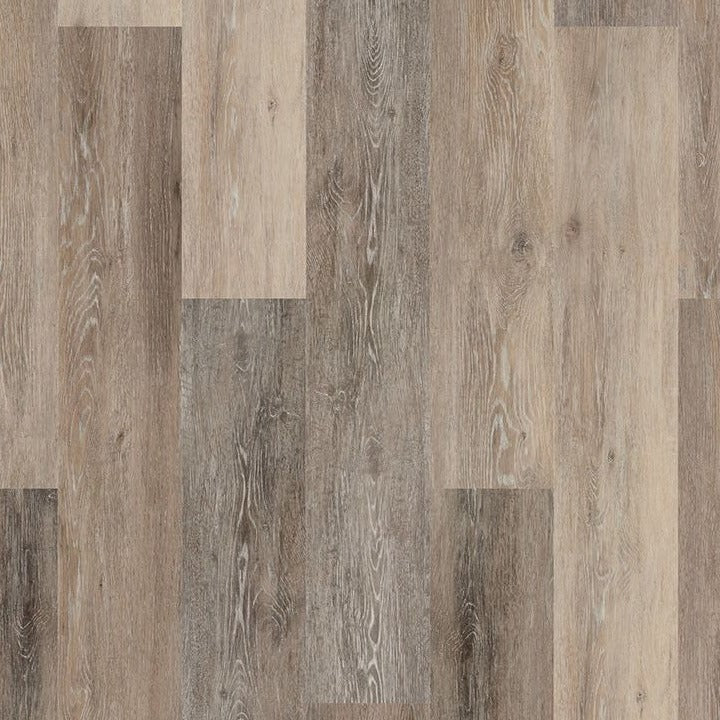
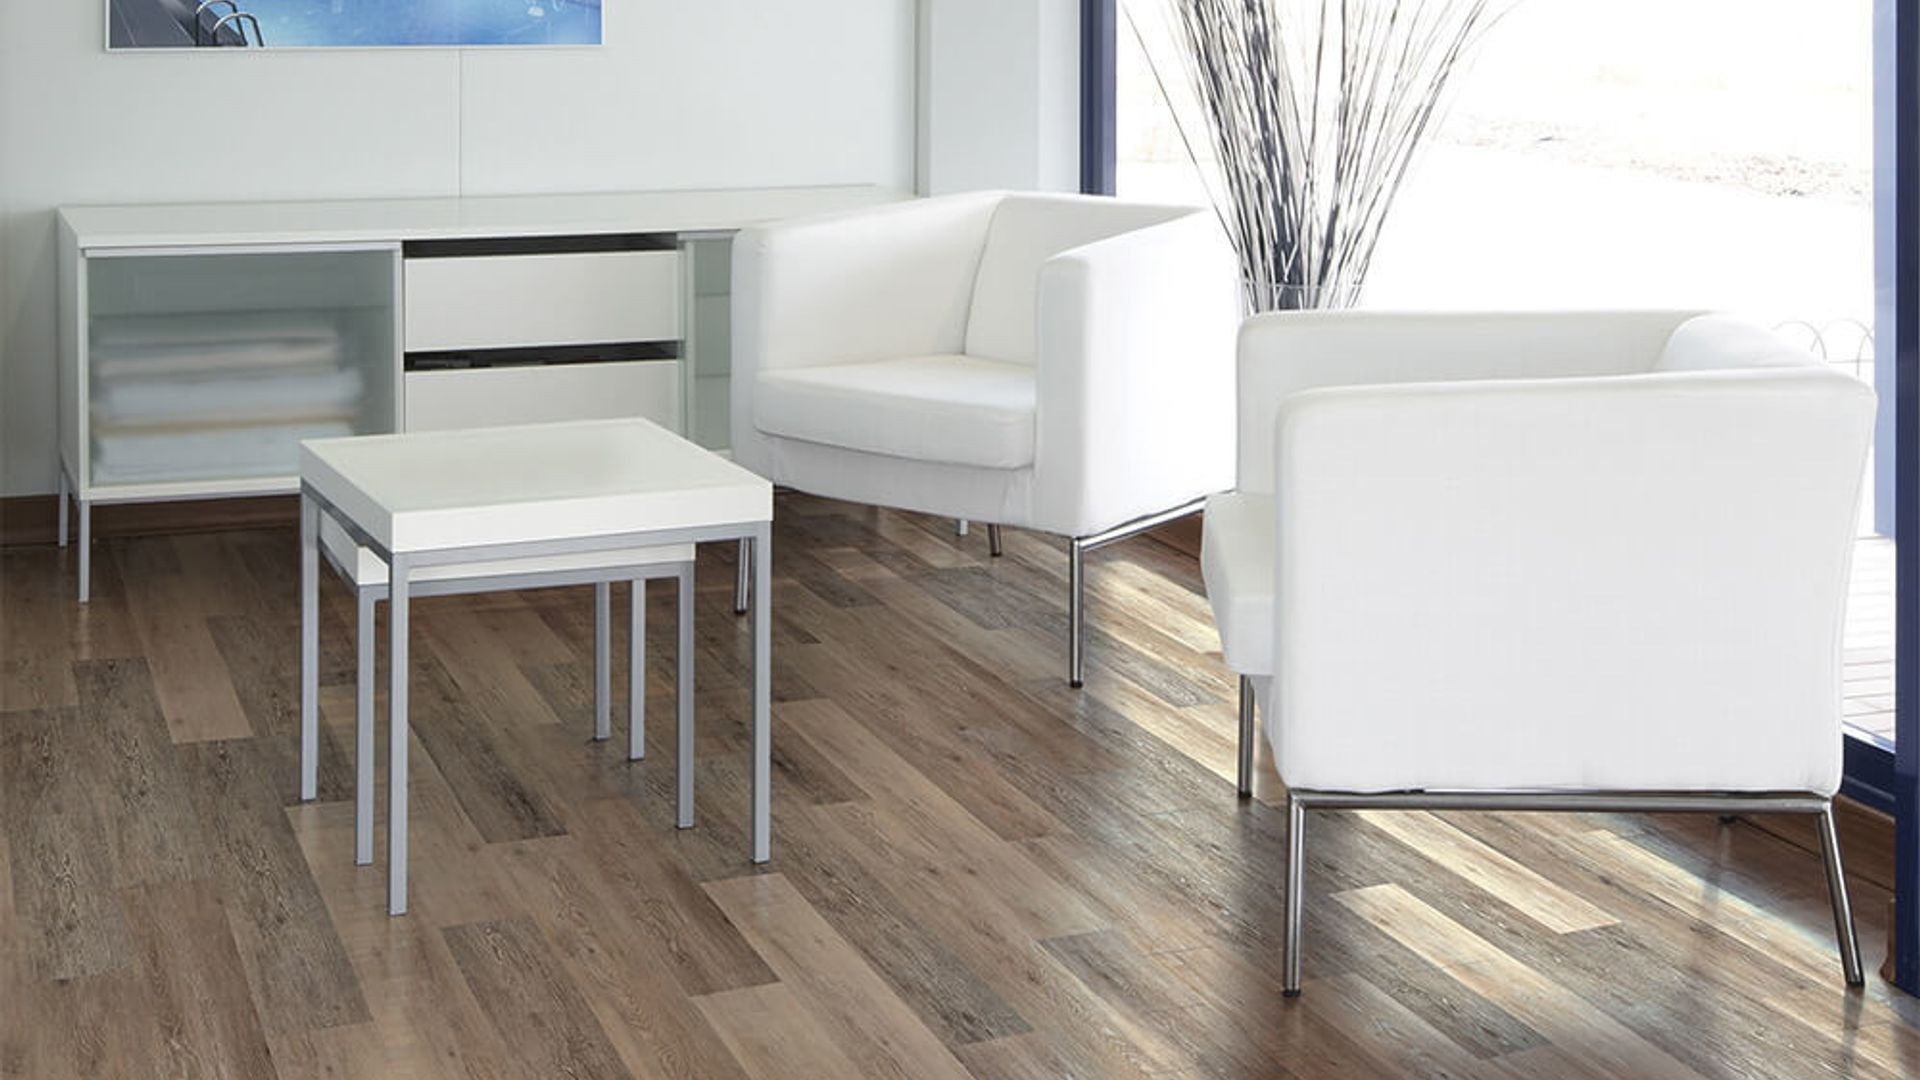
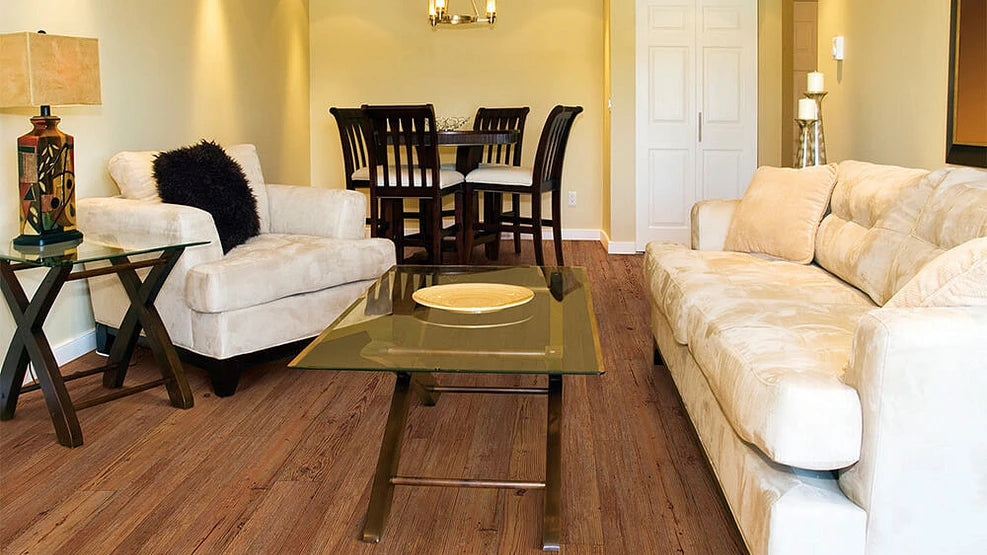
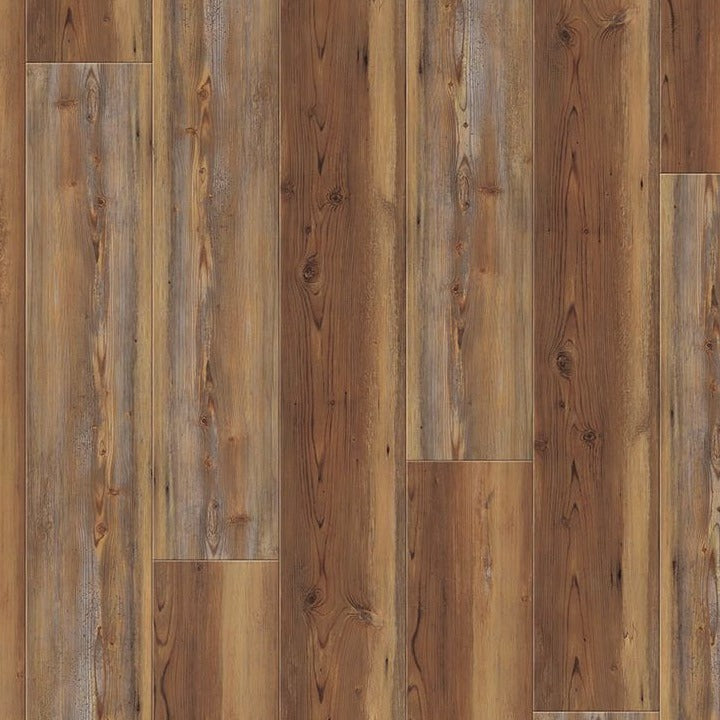
Are you tired of your old, worn-out flooring? Do you dream of a beautiful, durable, and easy-to-install solution? Look no further than Coretec Flooring! This revolutionary flooring option has taken the market by storm, and for good reason. With its stunning visuals, waterproof construction, and simple installation process, Coretec flooring is the ultimate choice for homeowners who want the best of both worlds: style and functionality.
Step 1: Prepare Your Subfloor
Before you can start installing your Coretec flooring, you need to ensure that your subfloor is clean, dry, and level. Remove any existing flooring and thoroughly clean the surface. If there are any imperfections or uneven areas, use a self-leveling compound to create a smooth base for your new flooring.
Step 2: Acclimate the Flooring

Coretec flooring is made from a unique blend of materials that allows it to withstand temperature and humidity fluctuations. To ensure the best installation results, it's important to acclimate the flooring to the room where it will be installed. Leave the boxes of flooring in the room for at least 48 hours, allowing the planks to adjust to the environment.
Step 3: Plan Your Layout
Before you start laying down your Coretec flooring, take the time to plan your layout. Start by measuring the length and width of the room, and then calculate the square footage. This will help you determine how many boxes of flooring you'll need. Consider the direction of the planks and any patterns you want to create. It's also a good idea to dry-fit a few rows of planks to ensure a balanced and visually appealing layout.
Step 4: Install the Underlayment
Coretec flooring requires an underlayment to provide additional cushioning, sound absorption, and moisture protection. Roll out the underlayment across the entire floor, making sure to overlap the seams by a few inches. Secure the underlayment in place using a staple gun or adhesive, following the manufacturer's instructions.
Step 5: Start Installing the Flooring
Now comes the exciting part – installing your Coretec flooring! Begin by laying the first row of planks along the longest wall in the room, with the tongue side facing the wall. Use spacers to maintain a consistent expansion gap around the perimeter of the room. Connect the planks by angling the tongue of one plank into the groove of the previous plank, and then gently pressing them together until they lock in place.
Step 6: Continue with the Installation
Continue installing the planks row by row, working your way across the room. Remember to stagger the seams between the planks for a more natural look. Use a tapping block and rubber mallet to ensure a tight fit between the planks. Trim the last row of planks to fit, leaving a 1/4-inch expansion gap along the wall.
Step 7: Add the Finishing Touches
Once you've installed all the planks, it's time to add the finishing touches. Install the matching transition pieces, such as T-moldings or reducers, to create a seamless transition between different flooring surfaces. Remove the spacers and install the baseboards or quarter round molding to cover the expansion gap along the walls.
Step 8: Enjoy Your Beautiful New Flooring

Congratulations! You've successfully installed Coretec flooring like a pro. Take a step back and admire your hard work. Not only have you transformed the look of your space, but you've also added value and durability to your home. Now it's time to sit back, relax, and enjoy your beautiful new flooring for years to come.
Remember, installing Coretec flooring is a rewarding and achievable DIY project. With the right tools, materials, and a little bit of patience, you can create a stunning and long-lasting floor that will be the envy of all your friends and family. So, what are you waiting for? Get started on your Coretec flooring installation journey today!


