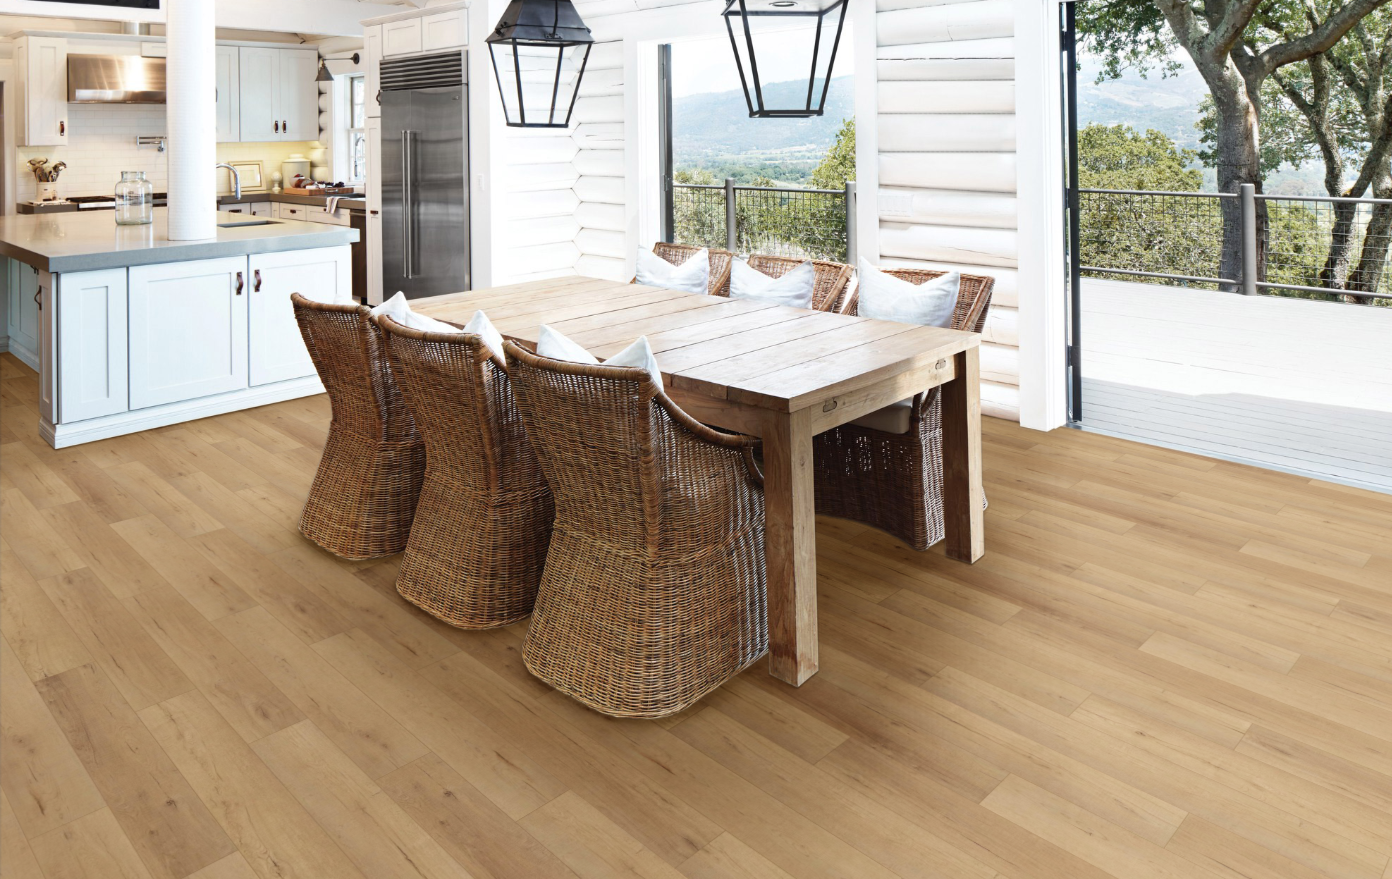
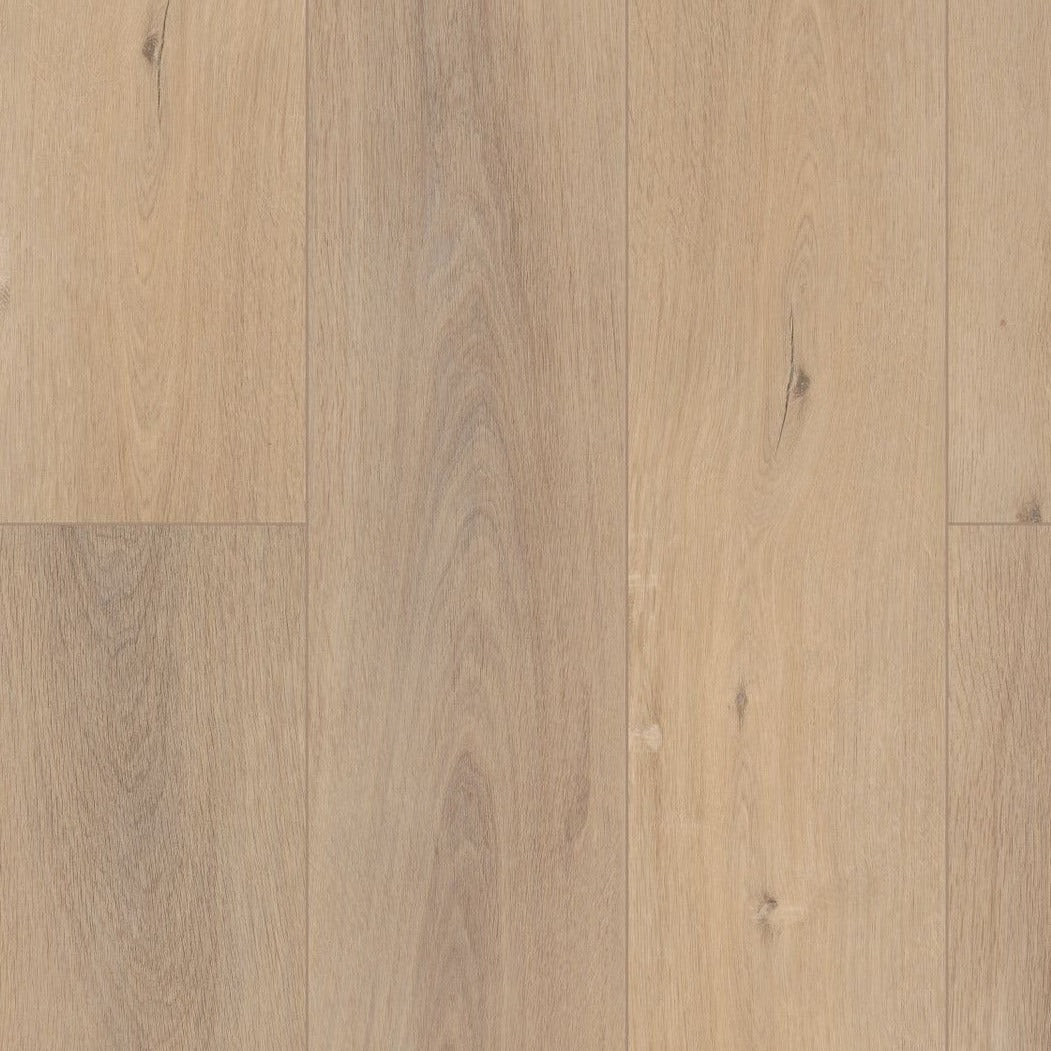
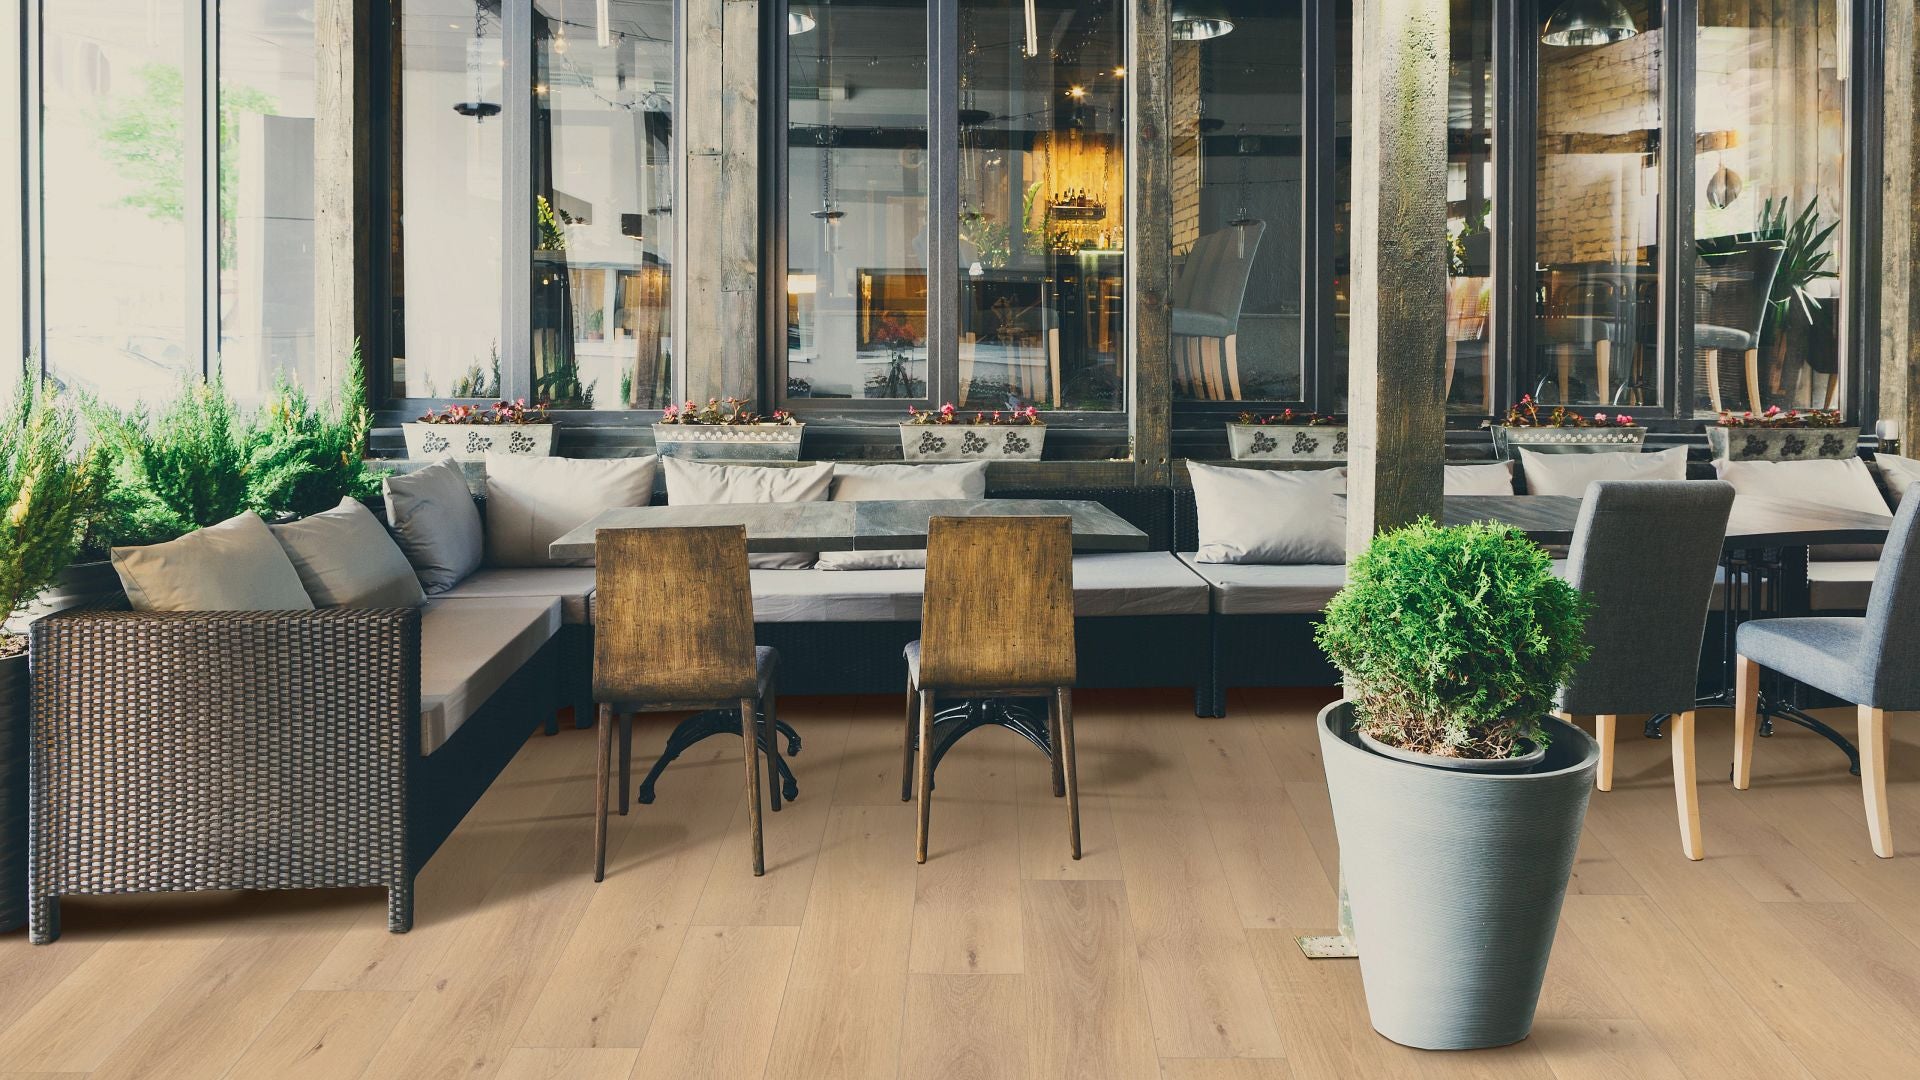
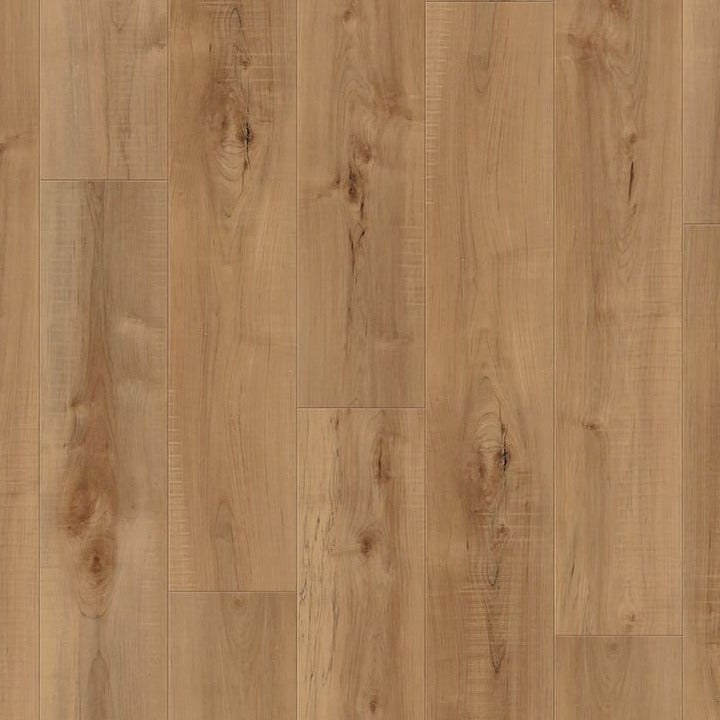
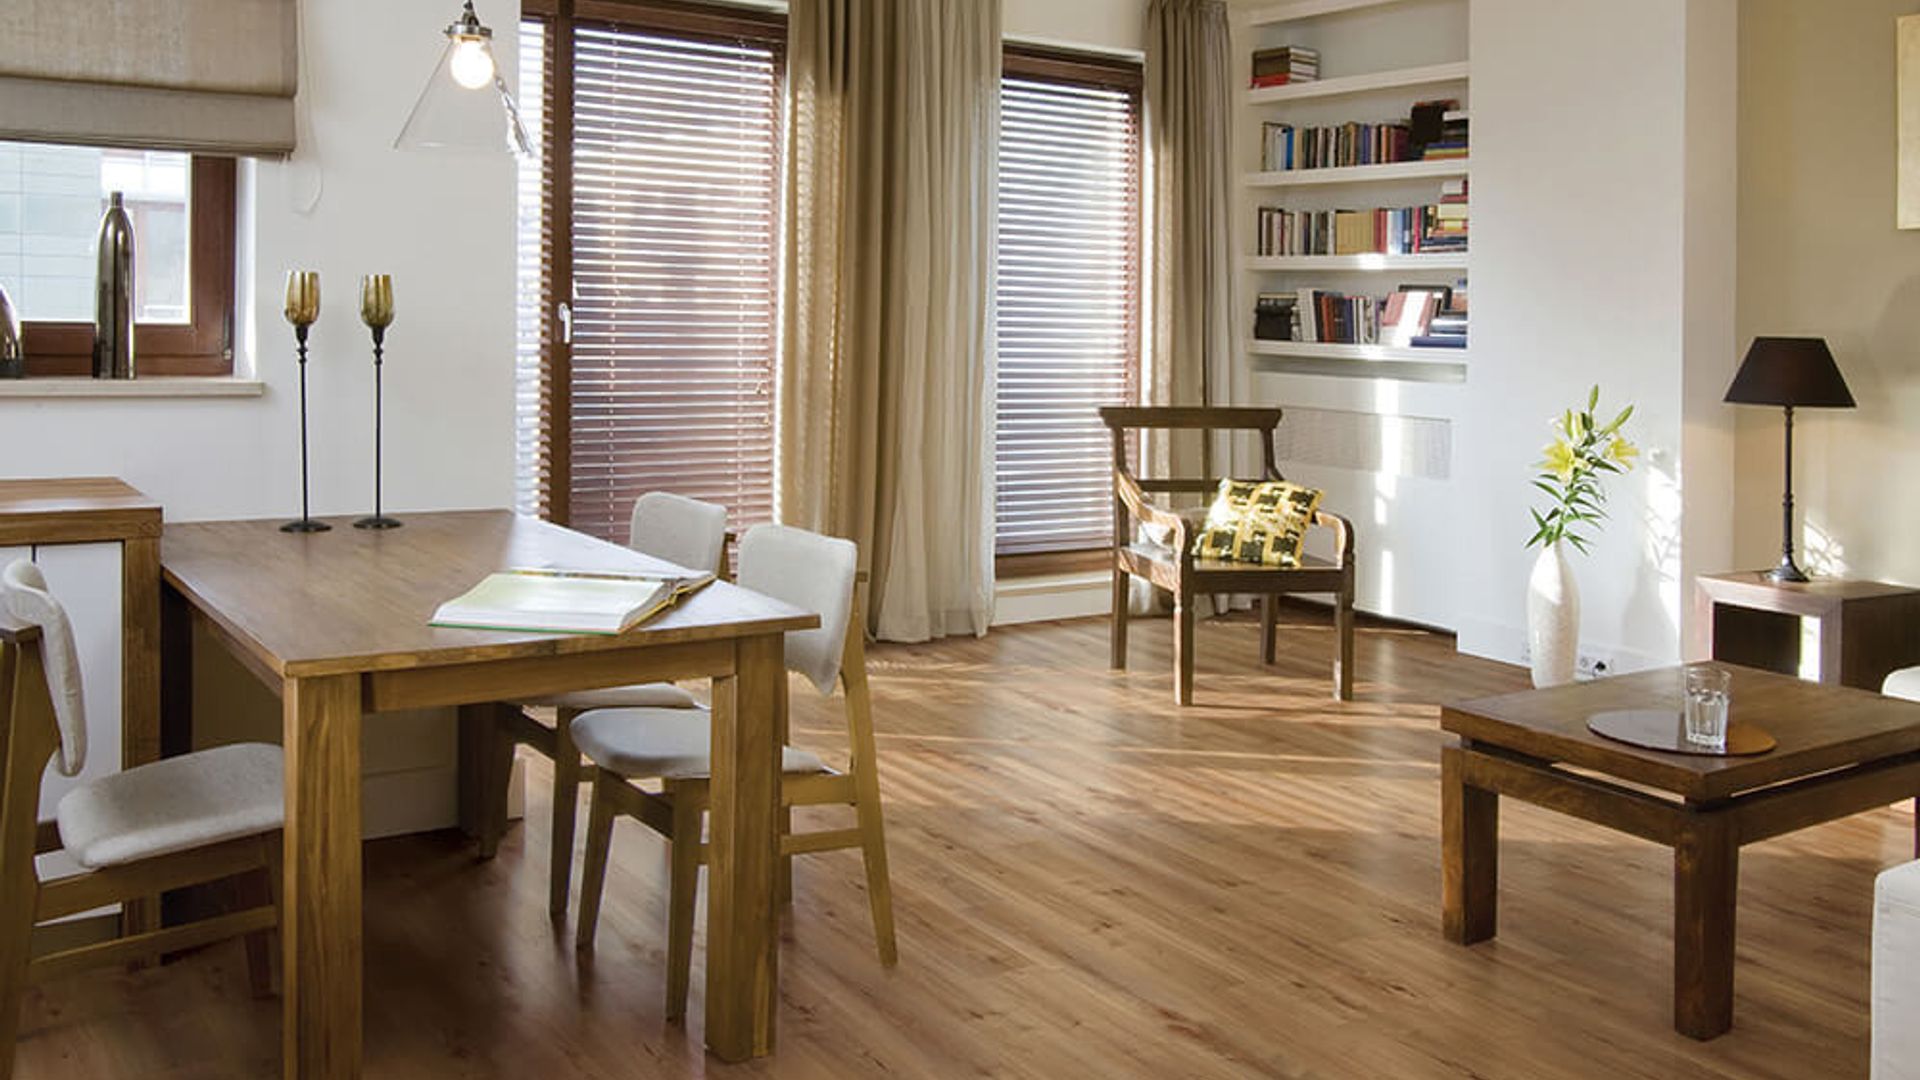
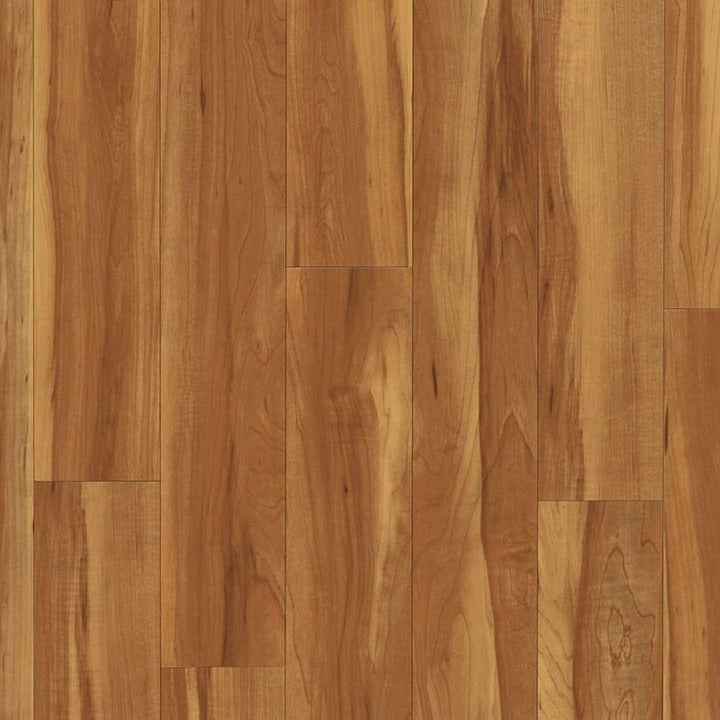
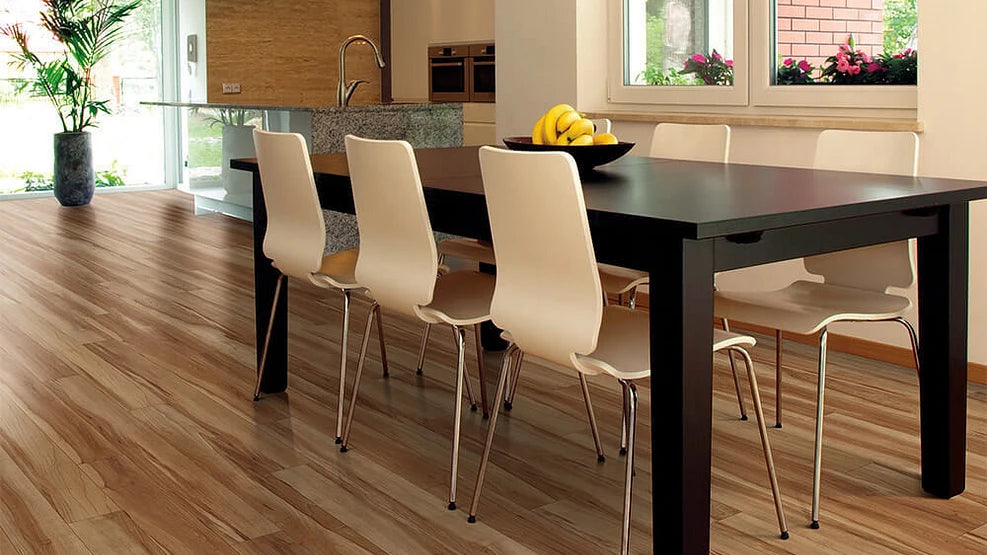
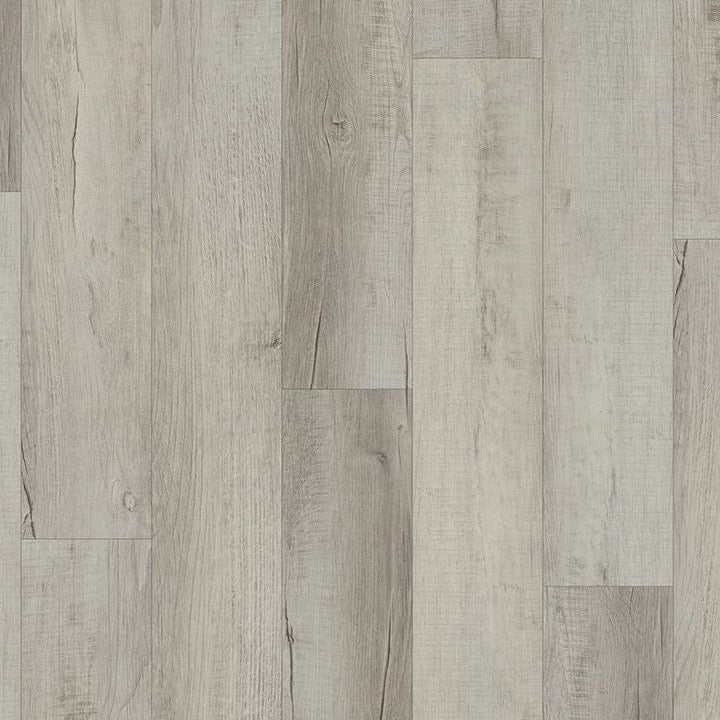
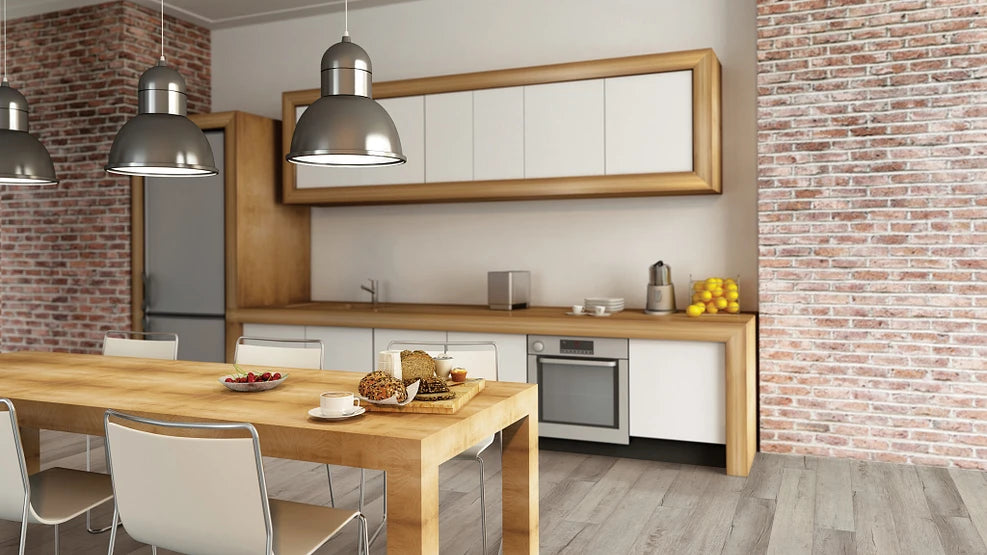
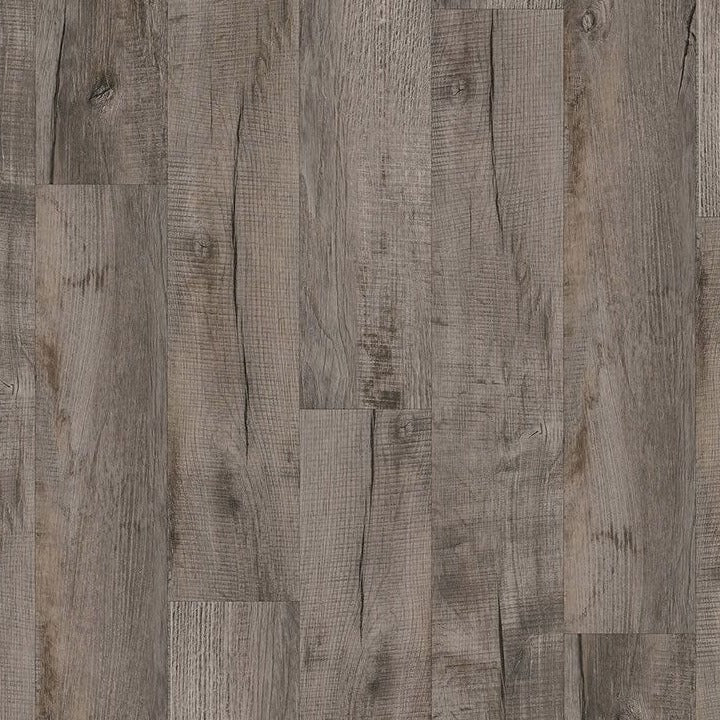
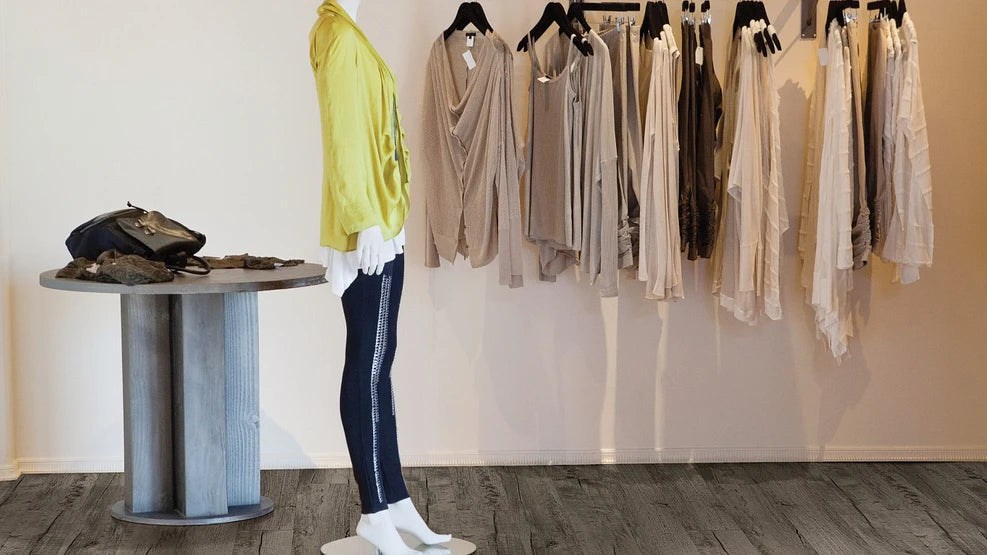
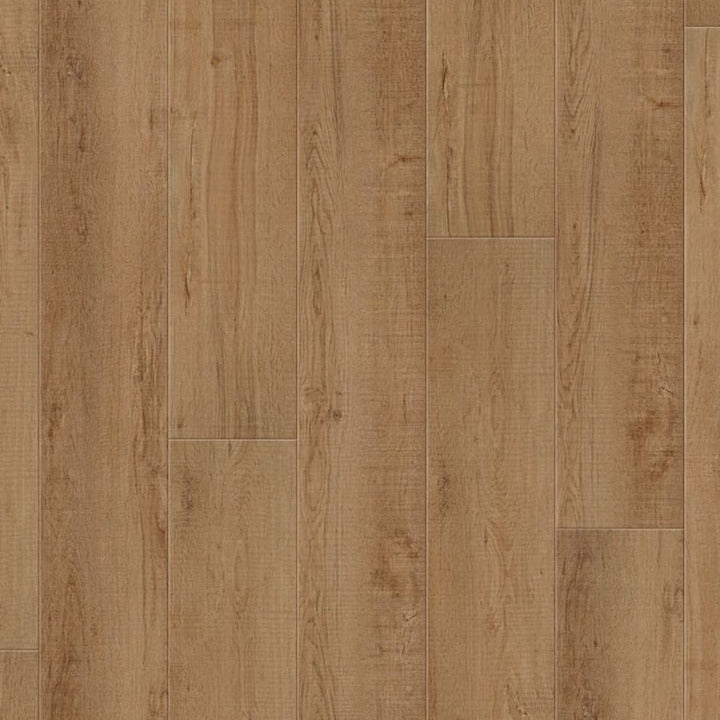
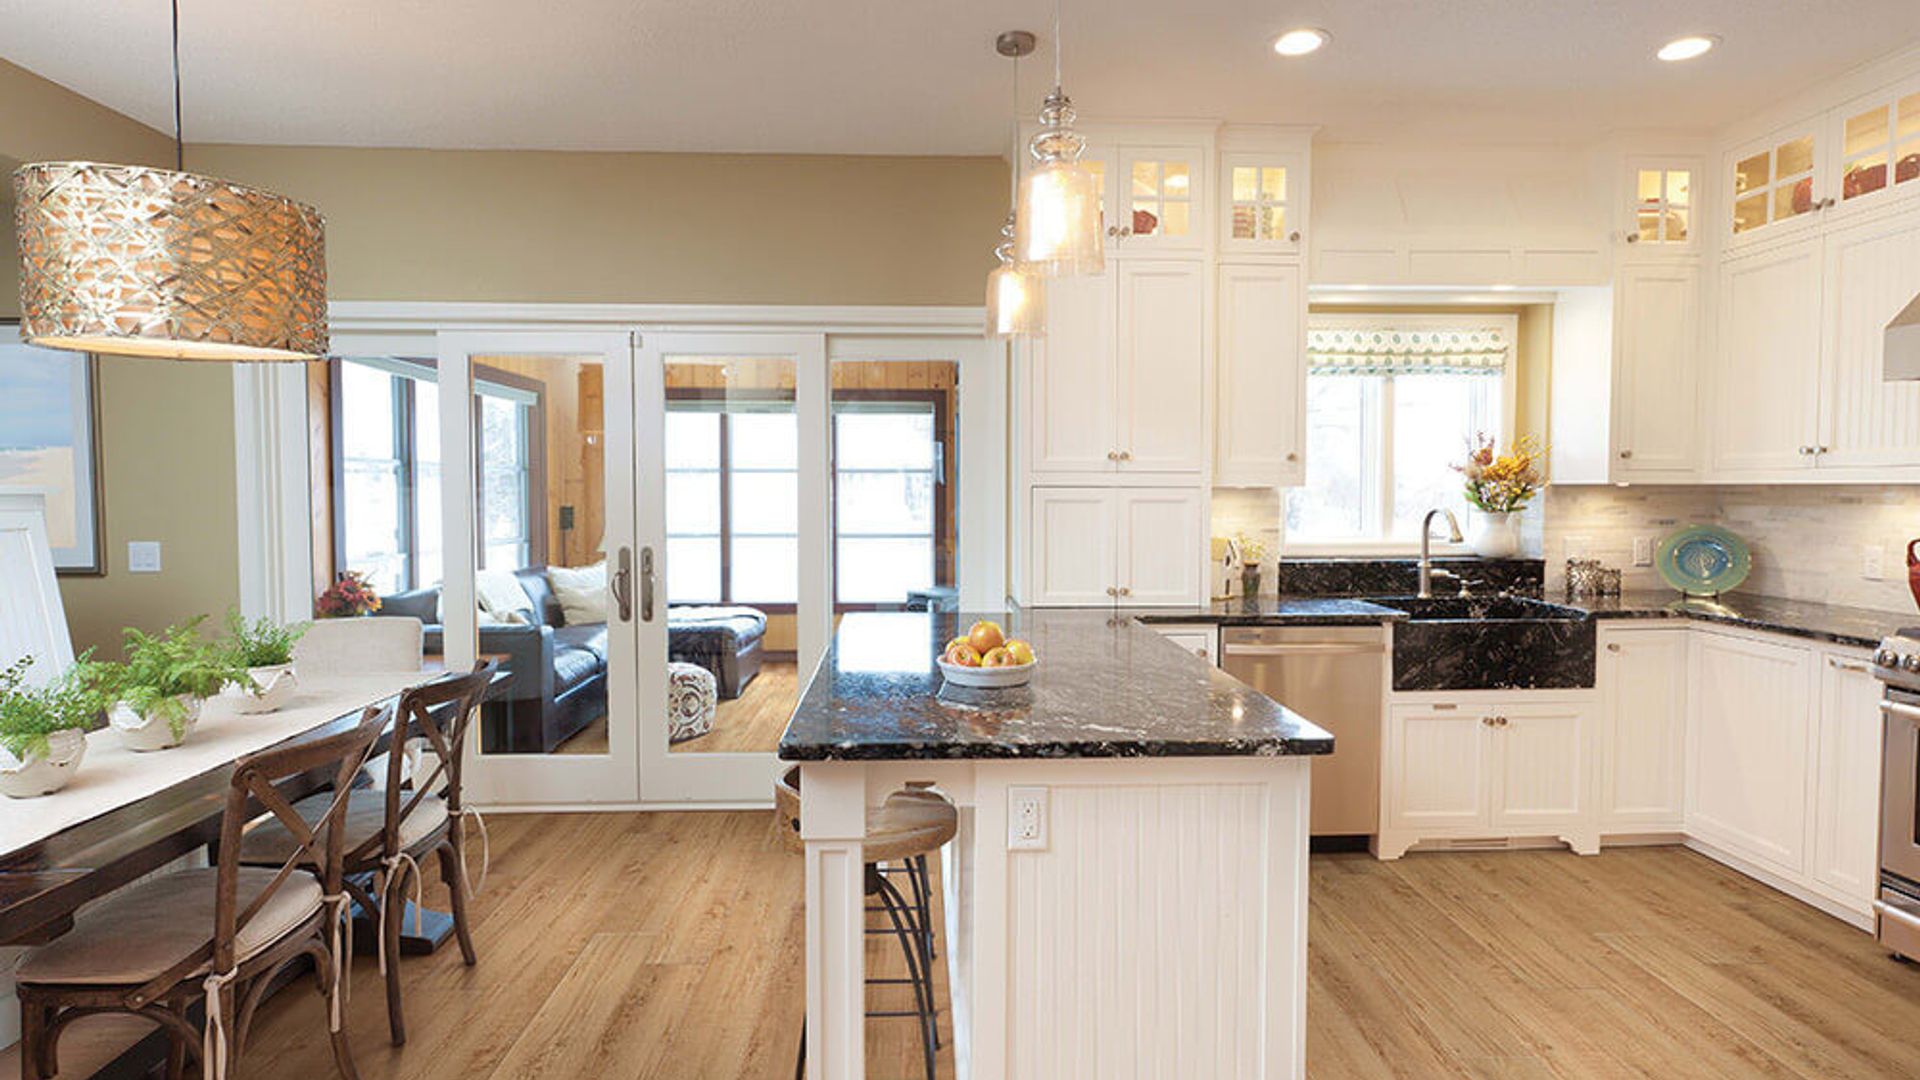
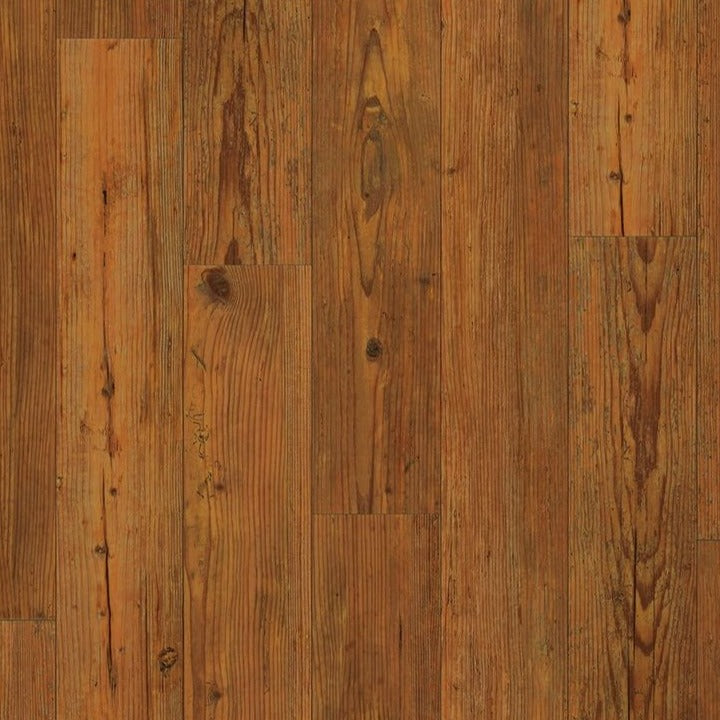
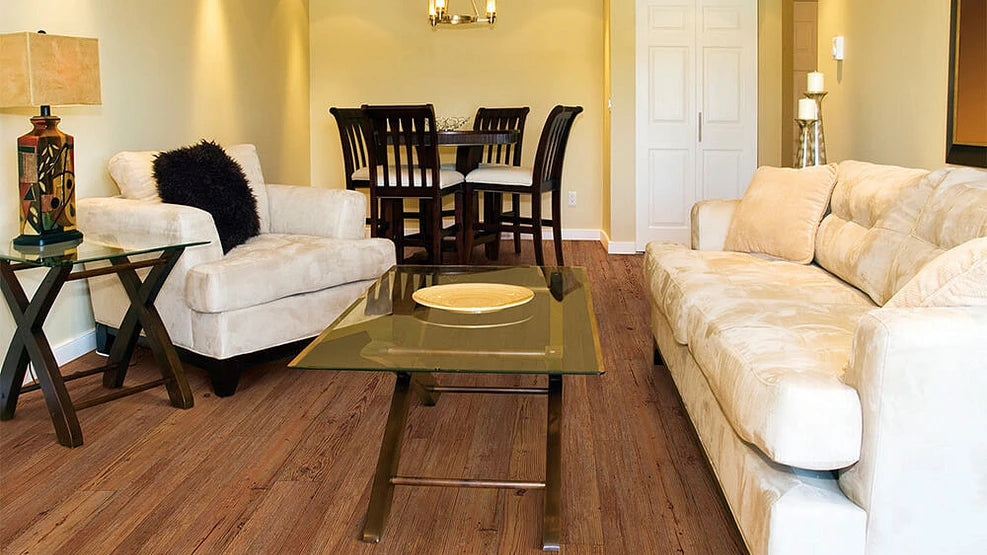
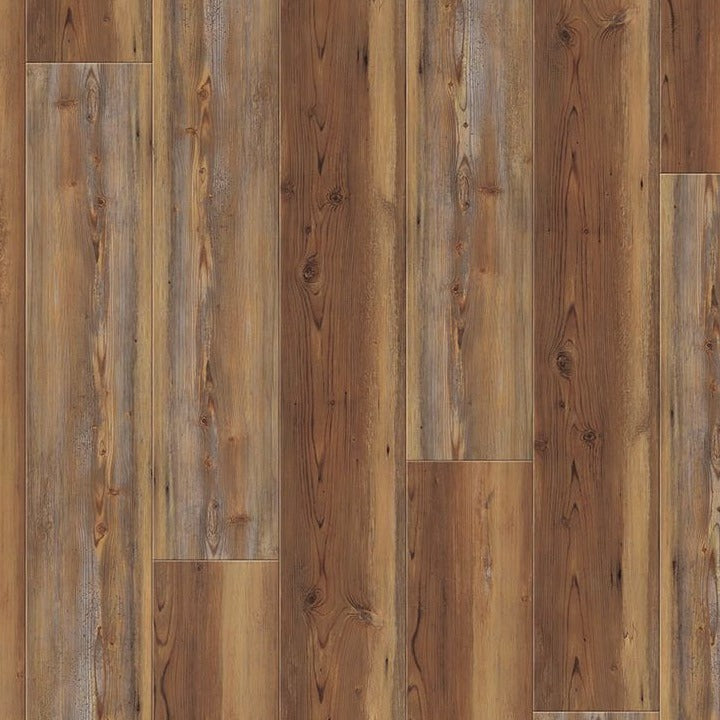
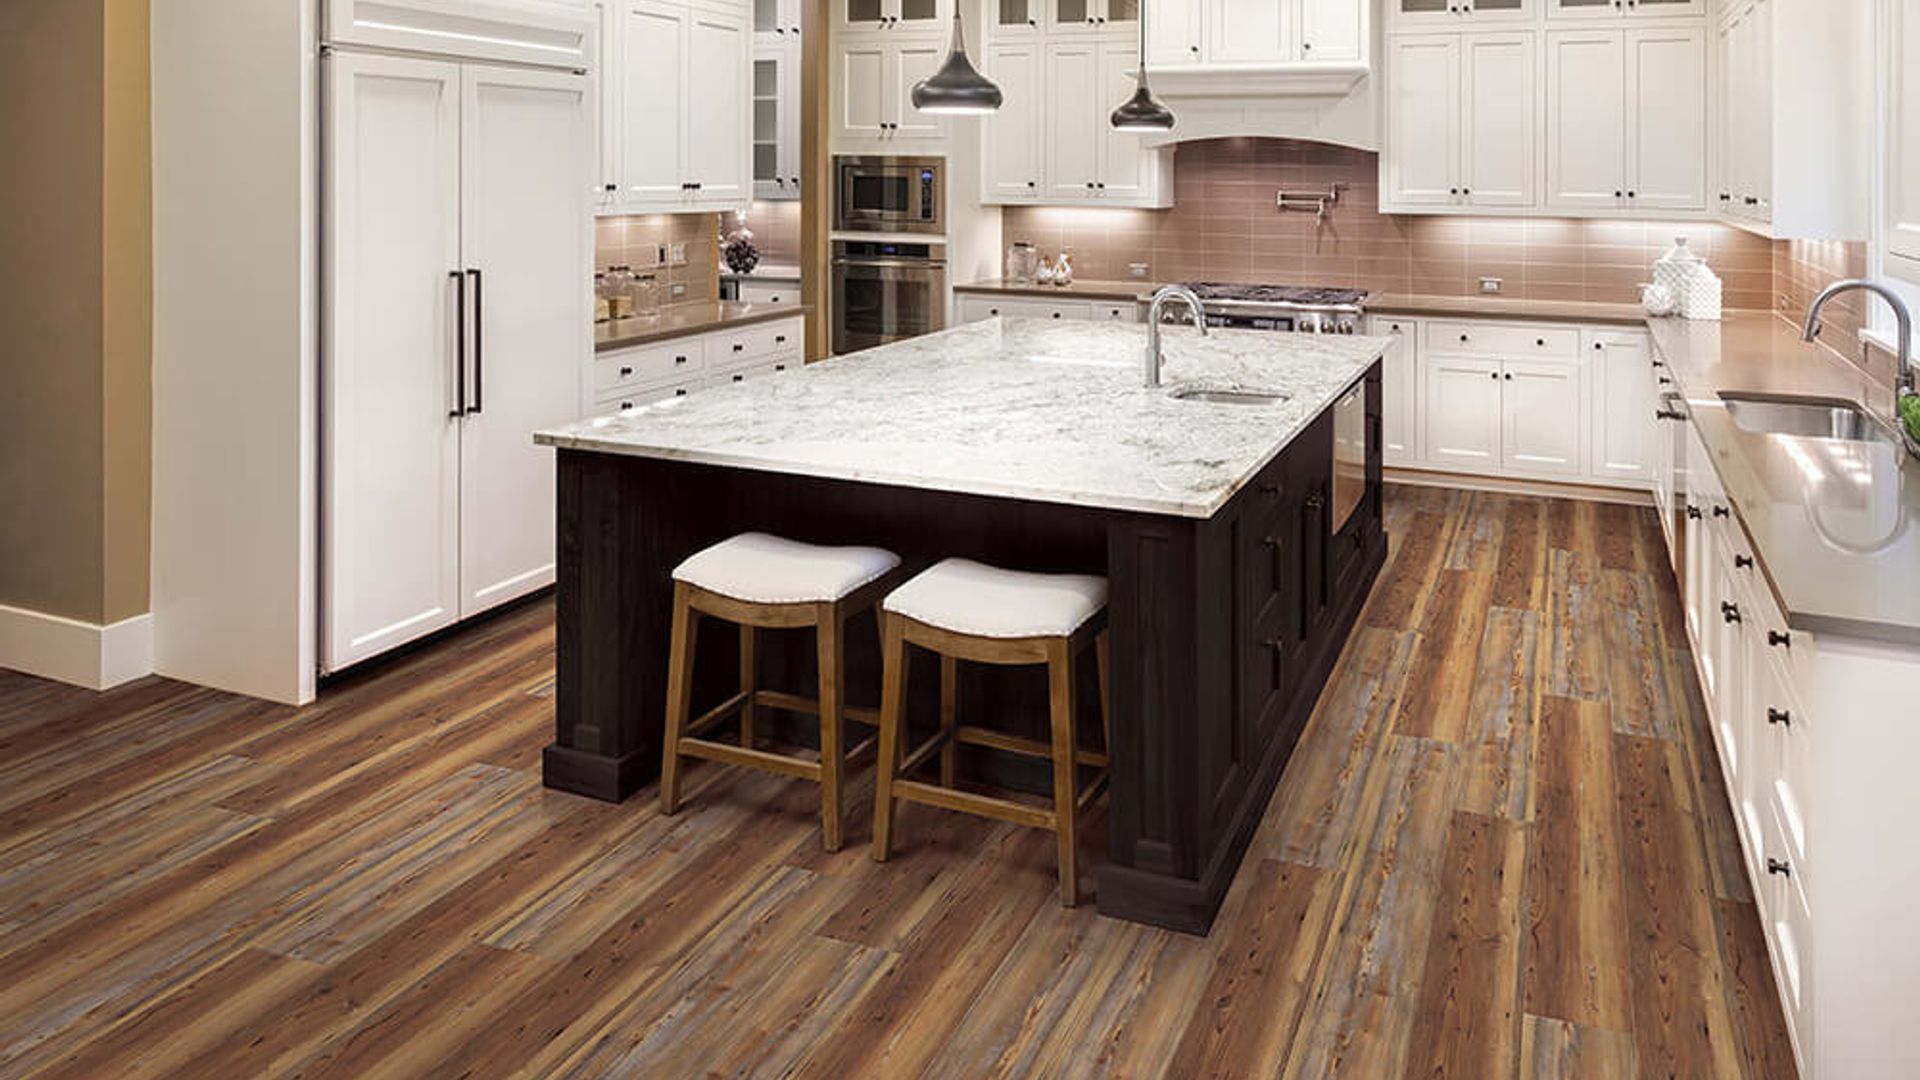
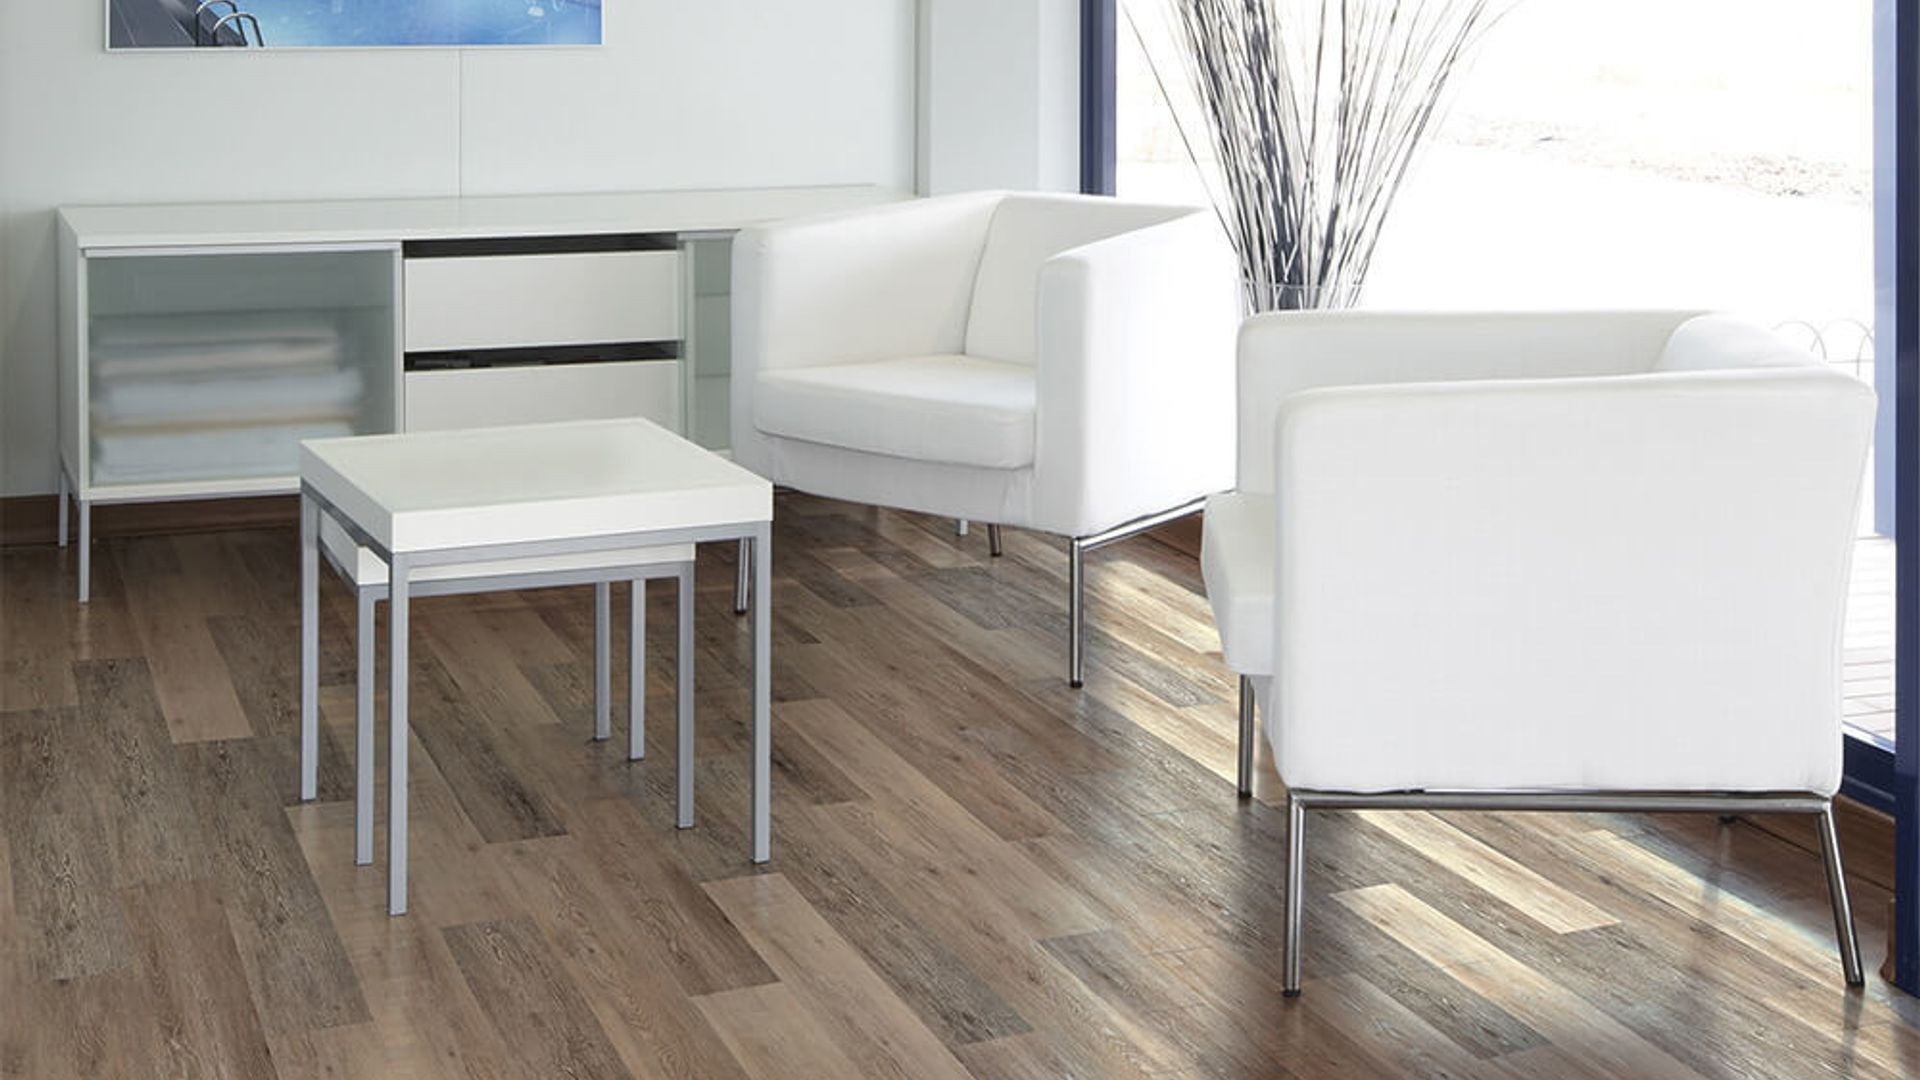
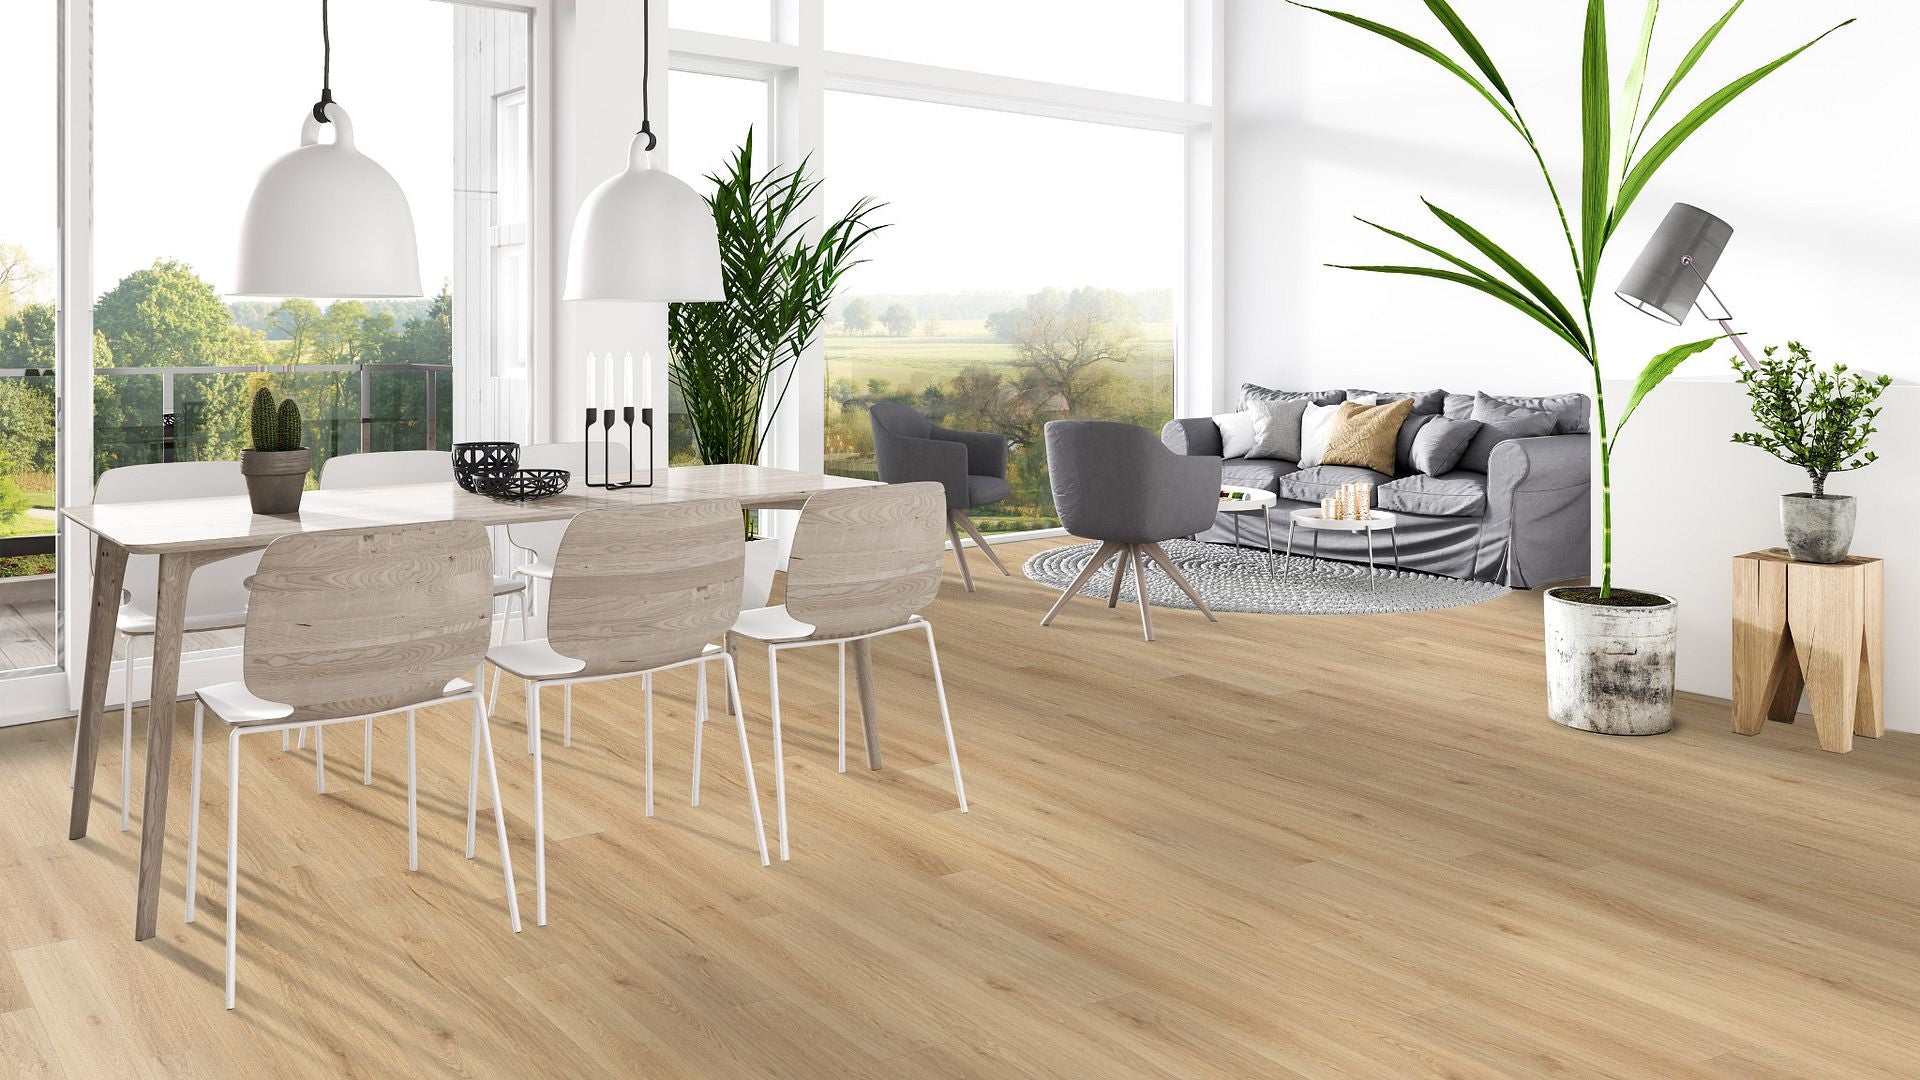
Karndean flooring is a fantastic choice for homeowners and businesses looking for durable, stylish, and low-maintenance floors. But how do you install Karndean flooring? Whether you're a DIY enthusiast or considering professional help, this guide will walk you through everything you need to know about installing Karndean flooring for three installation types: Glue Down, Click Lock, and Looselay. Let’s get started!
Does Karndean Flooring Need Underlay?
One of the most common questions is whether Karndean flooring requires underlay. The answer depends on the type of Karndean flooring you’re installing:
- Glue Down: Underlay is not required for Glue Down installation. A smooth, clean, and level subfloor is all you need.
- Click Lock: While not mandatory, underlay can provide extra cushioning, reduce noise, and improve insulation.
- Looselay: Underlay is generally not needed, but some installations might benefit from a thin layer to enhance stability or reduce sound in large spaces.
Pro Tip: Always check Karndean's specific product instructions to confirm the best approach for your installation.
1. How to Install Karndean Glue Down Flooring
Glue Down is the most traditional installation method and offers a strong, permanent solution. Here's how to get it right:
What You’ll Need
- Karndean Glue Down planks or tiles
- Vinyl flooring adhesive (recommended by Karndean)
- Trowel for adhesive application
- Utility knife
- Measuring tape and straightedge
- Roller (50-100 lbs.)
- Clean cloth and cleaning solution
Step-by-Step Guide
-
Prepare the Subfloor:

- Ensure the subfloor is clean, dry, smooth, and level. Remove dust, debris, and grease.
- If the subfloor has cracks or uneven areas, repair them with a leveling compound.
-
Plan Your Layout:

- Start by marking the center of the room and plan your layout to minimize cuts. Work outward from the center for a balanced look.
-
Apply the Adhesive:

- Use a trowel to evenly spread the adhesive in sections. Work in manageable areas to prevent the glue from drying before you lay the flooring.
-
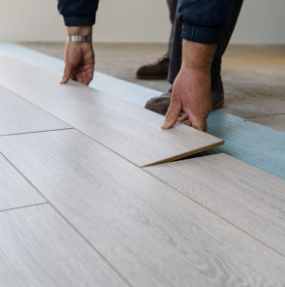
Lay the Tiles or Planks:

- Place each plank or tile firmly into the adhesive. Press down to ensure a good bond, aligning the pieces snugly without gaps.
-
Roll the Floor:
- Once installed, use a roller to press the flooring into the adhesive and remove air pockets.

- Once installed, use a roller to press the flooring into the adhesive and remove air pockets.
-
Clean Up:
- Wipe away excess adhesive with a clean, damp cloth before it dries. Allow the adhesive to cure for 24 hours before walking on the floor.
Pro Tip: If you are not comfortable in installing the glue down version, try hiring a professional installer!
2. How to Install Karndean Click Lock Flooring
Click Lock flooring is perfect for DIY enthusiasts. It features a simple click-and-lock system that doesn’t require adhesive, making it faster and easier to install.
What You’ll Need
- Karndean Click Lock planks
- Rubber mallet
- Spacers for expansion gaps
- Measuring tape and utility knife
- Underlay (optional for cushioning or sound reduction)
Step-by-Step Guide
-
Prepare the Subfloor:

- As with Glue Down, ensure the subfloor is clean, dry, and level. If using underlay, lay it down first.
-
Acclimate the Flooring:
- Allow the planks to acclimate to the room temperature for 24-48 hours before installation.
-
Start in a Corner:

- Begin in one corner of the room, leaving a 1/4-inch expansion gap between the flooring and the wall using spacers.
-
Click and Lock the Planks:

- Align the tongue of one plank with the groove of another at a slight angle, then press down to lock them together. Use a rubber mallet to ensure a tight fit.
-
Continue Across the Room:

- Work row by row, staggering the planks for a natural look. Measure and cut planks as needed for the edges.
-
Finish and Remove Spacers:

- Once the floor is complete, remove the spacers and add baseboards or trim to cover the expansion gap.
Pro Tip: For Click Lock installations, it’s essential to leave an expansion gap to allow the floor to expand and contract with temperature changes.
3. How to Install Karndean Looselay Flooring
Looselay flooring offers one of the easiest installation methods. The planks use a special backing to grip the subfloor, requiring no adhesive in most cases.
What You’ll Need
- Karndean Looselay planks
- Utility knife
- Measuring tape
- Ruler or straightedge
- Roller (optional for larger spaces)
Step-by-Step Guide
-
Prepare the Subfloor:

- As always, ensure the subfloor is clean, smooth, and dry. Any dirt or bumps can prevent the Looselay planks from gripping effectively.
-
Acclimate the Planks:
- Let the flooring adjust to room temperature for at least 24 hours before installation.
-
Mark Your Layout:

- Mark the center of the room and plan your layout for a balanced look. Work outward from the center.
-
Lay the Planks:
- Simply place each plank on the subfloor, pressing down firmly to ensure a secure fit. No adhesive is required unless you're installing in a high-traffic area or large space.

- Simply place each plank on the subfloor, pressing down firmly to ensure a secure fit. No adhesive is required unless you're installing in a high-traffic area or large space.
-
Trim Edges as Needed:
- Use a utility knife to cut planks for edges and corners, ensuring a snug fit.
-
Secure with Adhesive (Optional):
- For areas with heavy traffic or larger installations, apply adhesive to the perimeter or under individual planks as recommended by Karndean.
Pro Tip: Looselay flooring is ideal for temporary spaces or areas where you may need to replace planks in the future, as they can be easily removed and reinstalled.
FAQs About Karndean Flooring Installation
1. How Do I Prepare the Subfloor?
Ensure the subfloor is clean, dry, and level. Use a leveling compound to fix any imperfections, and vacuum thoroughly to remove debris.
2. Can I Install Karndean Flooring Over Existing Floors?
Yes, Karndean flooring can be installed over many existing floors, including concrete, tile, and vinyl, as long as the surface is smooth and even.
3. Should I Hire a Professional?
While Click Lock and Looselay methods are great for DIYers, Glue Down installations are best left to professionals for a flawless finish.
4. What Tools Do I Need?
Tools vary by method but generally include a utility knife, measuring tape, roller, and trowel (for Glue Down).
Which Installation Method is Best for You?
- Glue Down: Ideal for permanent installations and high-traffic areas where durability is key.
- Click Lock: Perfect for DIYers looking for a quick and easy installation.
- Looselay: Great for temporary spaces or areas where future replacement may be needed.
No matter which method you choose, Karndean flooring offers unmatched durability, style, and ease of maintenance.
By following this guide, you’ll have a beautiful Karndean floor in no time. If you’re unsure about any part of the process, feel free to consult a professional installer or contact us for more advice!
Ready to Transform Your Space?
You can start by exploring our entire Karndean Designer Flooring Collection
You can also start exploring one of the Karndean Flooring Collections below:
- Karndean Art Select Glue Down
- Karndean Art Select Click-Lock
- Karndean Korlok Select
- Karndean Korlok Reserve
- Karndean Van Gogh Glue Down
- Karndean Van Gogh Click-Lock
- Karndean Knight Tile Glue Down
- Karndean Knight Tile Click-Lock
- Karndean Opus
- Karndean Looselay


