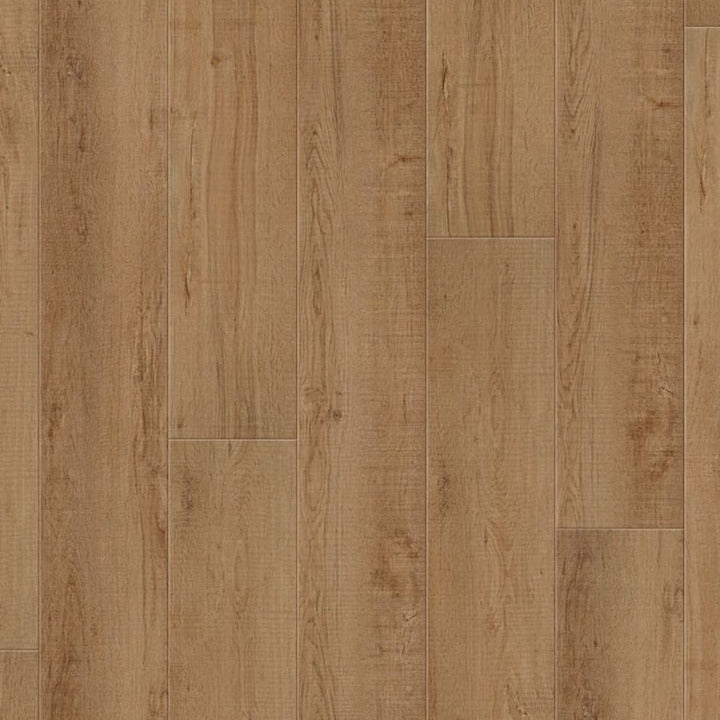
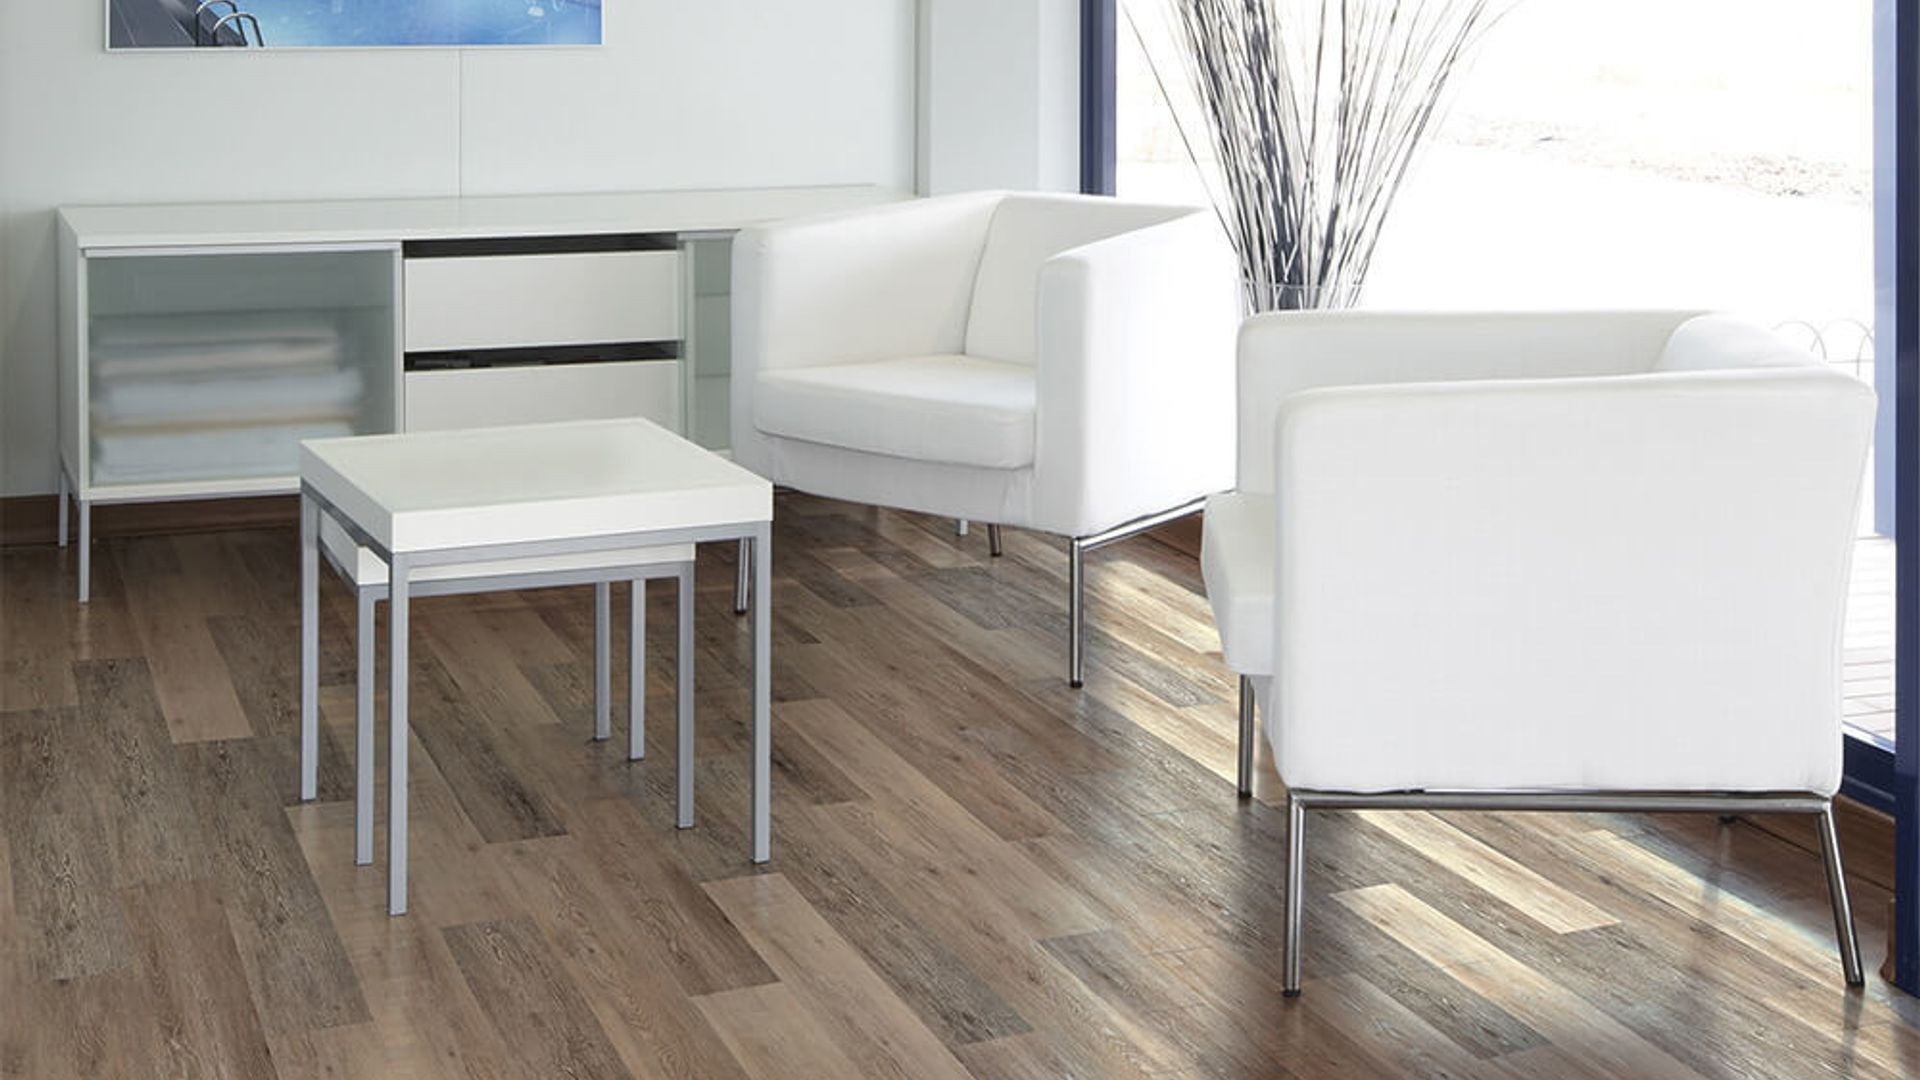
Flooring is the silent foundation that shapes the character of a space, and Forbo's Modular Click Tiles (MCT) stand as a testament to the marriage of aesthetics and functionality. This blog post serves as your comprehensive guide to understanding and mastering the installation process of Forbo MCT, ensuring that your flooring project achieves a flawless finish.
Introduction: Unveiling Forbo MCT
Forbo MCT is a revolutionary flooring solution designed for those who seek a perfect blend of design flexibility and ease of installation. These modular click tiles seamlessly combine style and practicality, making them an ideal choice for residential and commercial spaces alike. Before delving into the installation process, let's explore why Forbo is capturing the attention of interior designers and homeowners.
Forbo MCT Overview: A Harmony of Design and Durability

Design Versatility:
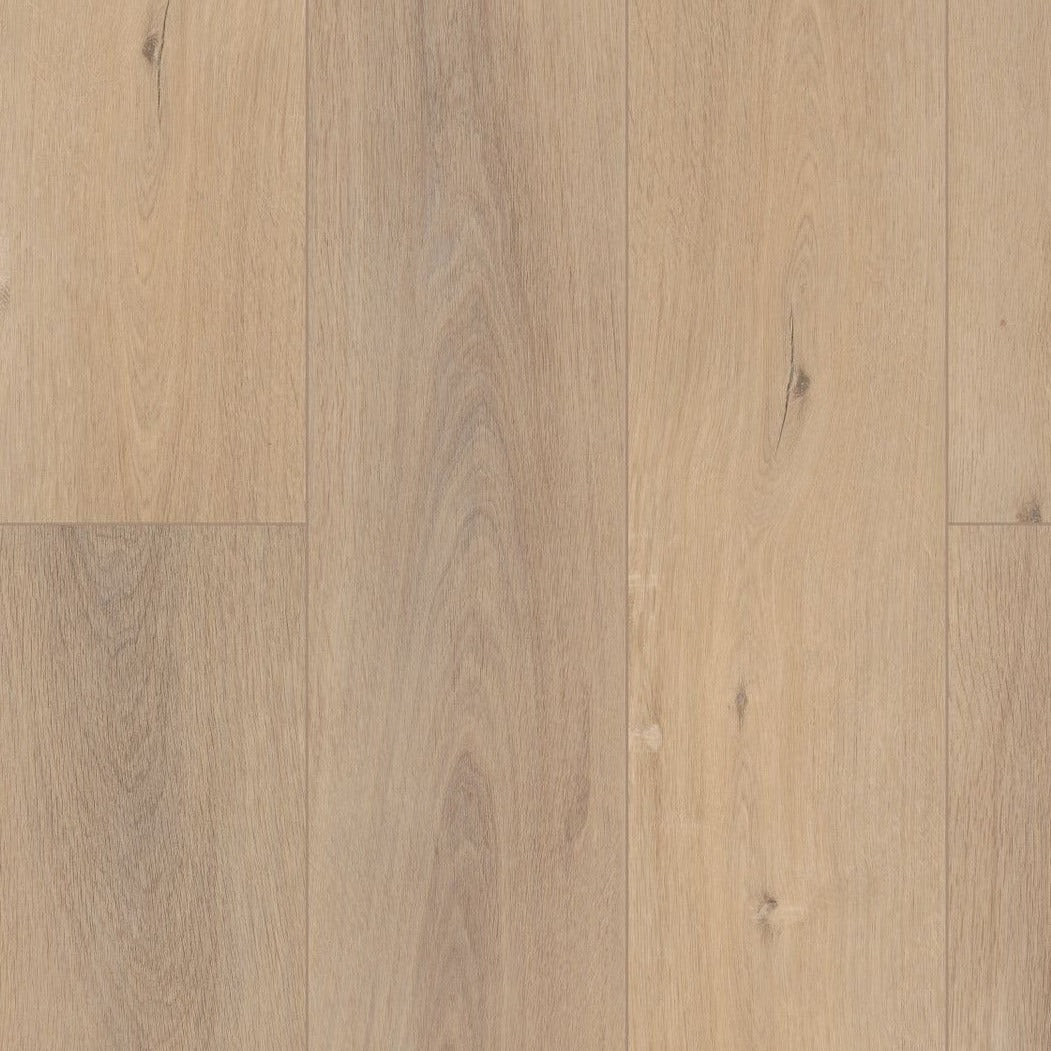
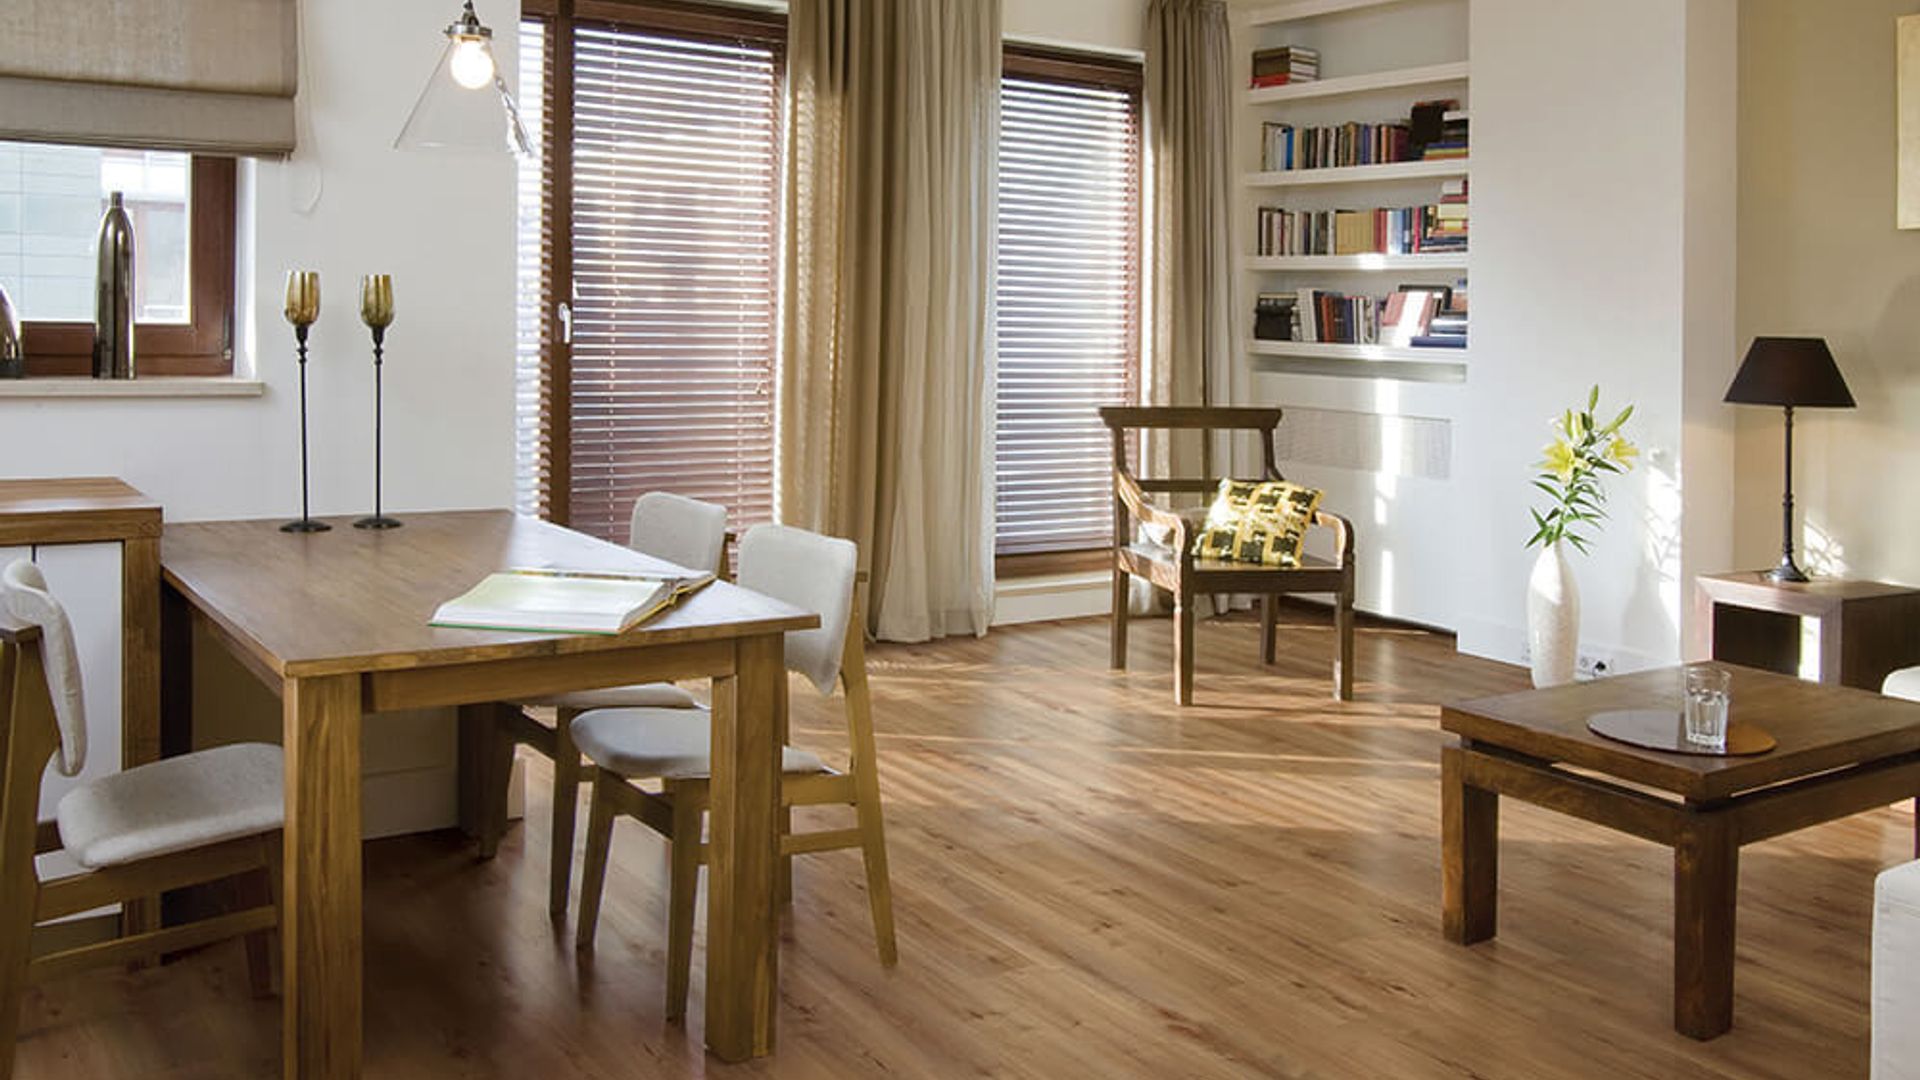
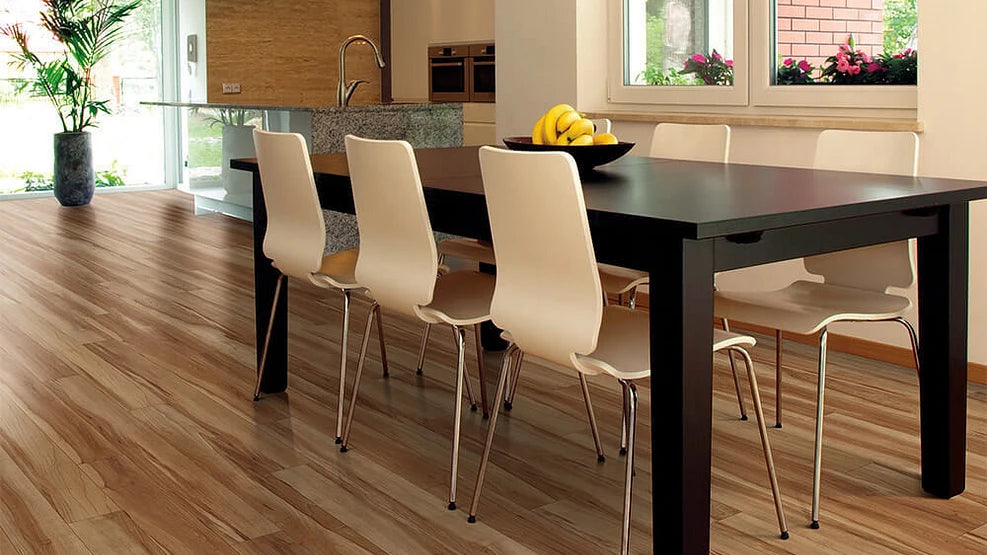
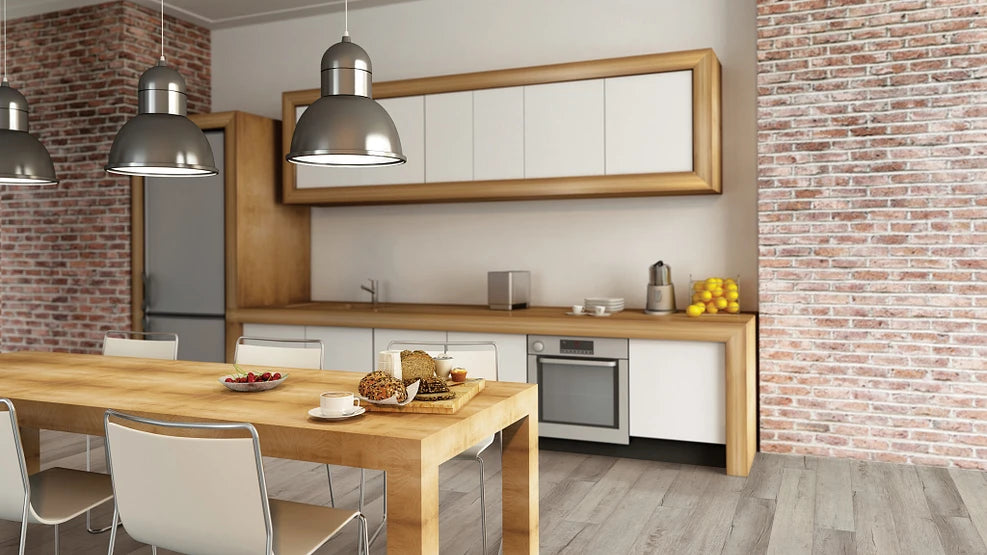
Forbo MCT offers a vast array of design options, from classic patterns to contemporary aesthetics. The modular nature of the tiles allows for creative freedom, enabling you to experiment with layouts and patterns to achieve a customized look for your space.
Durability and Performance:

Crafted with precision and durability in mind, Forbo MCT stands up to the rigors of daily life. Its robust construction ensures resistance against wear, making it suitable for high-traffic areas. The advanced engineering also contributes to a longer lifespan, providing a lasting solution for your flooring needs.
Ease of Maintenance:
Forbo MCT's surface is designed for easy maintenance. Regular cleaning is a breeze, allowing you to maintain the pristine appearance of your floors without investing excessive time or effort.
Mastering the Forbo MCT Installation Process: Step-by-Step Guide
Step 1: Surface PreparationBefore diving into the installation, ensure that the subfloor is clean, dry, and level. Remove any existing flooring material, and address any irregularities in the subfloor that might affect the performance of Forbo MCT.
Step 2: Acclimatization
Allow the Forbo MCT tiles to acclimate to the installation environment for at least 48 hours. This ensures that the tiles adjust to the temperature and humidity of the space, preventing issues like expansion or contraction post-installation.
Step 3: Layout Planning

Plan the layout of the tiles to achieve the desired design. Forbo MCT's modular click system allows for various layout options, enabling you to create patterns that suit your aesthetic preferences.
Step 4: Installation of the First Tile
Start the installation in a corner of the room. Place the first tile with the tongue side facing the wall. Maintain an expansion gap of at least 8-10 mm between the tiles and the wall to accommodate potential expansion.
Step 5: Clicking the Tiles Together
Connect the subsequent tiles by clicking them together. Forbo MCT features a user-friendly click system that simplifies the installation process. Ensure a snug fit by applying gentle pressure while connecting the tiles.
Step 6: Cutting Tiles for Precise Fit
Use a sharp utility knife to cut tiles when adjustments are needed for corners, edges, or intricate spaces. Measure and mark the tile accurately before making the cut.
Step 7: Handling Door Frames and Obstacles
When encountering door frames or other obstacles, cut the tiles to fit precisely around them. Maintain a consistent expansion gap around these areas for a professional finish.
Step 8: Final Rows and Wall Trim
Complete the installation by fitting the final rows of tiles. For a polished look, install wall trim or baseboards to conceal the expansion gap and create a seamless transition between the flooring and the walls.
Step 9: Post-Installation Inspection
After completing the installation, conduct a thorough inspection of the entire floor. Check for any visible gaps, misalignments, or issues that may require adjustments.
Tips for a Successful Forbo MCT Installation:
Accurate Measurement:
Take precise measurements and plan the layout carefully to minimize the need for adjustments during installation.
Proper Tools:
Ensure you have the necessary tools, including a sharp utility knife, a straight edge, and a tapping block, to facilitate a smooth installation process.
Temperature Considerations:
Install Forbo MCT in a temperature-controlled environment to prevent issues related to expansion or contraction.
Professional Assistance:
If you are unsure about any aspect of the installation, consider seeking professional assistance to ensure a flawless result.
Conclusion: Elevating Spaces with Forbo MCT
In conclusion, Forbo MCT isn't just flooring; it's a design statement that combines aesthetics with practicality. Mastering the installation process allows you to unlock the full potential of Forbo MCT, transforming your space into a harmonious blend of style and durability.
Follow this comprehensive guide to install Forbo MCT with confidence, and witness the seamless integration of design and functionality in your floors. Elevate your space with Forbo MCT, where every click brings you closer to flooring perfection.


