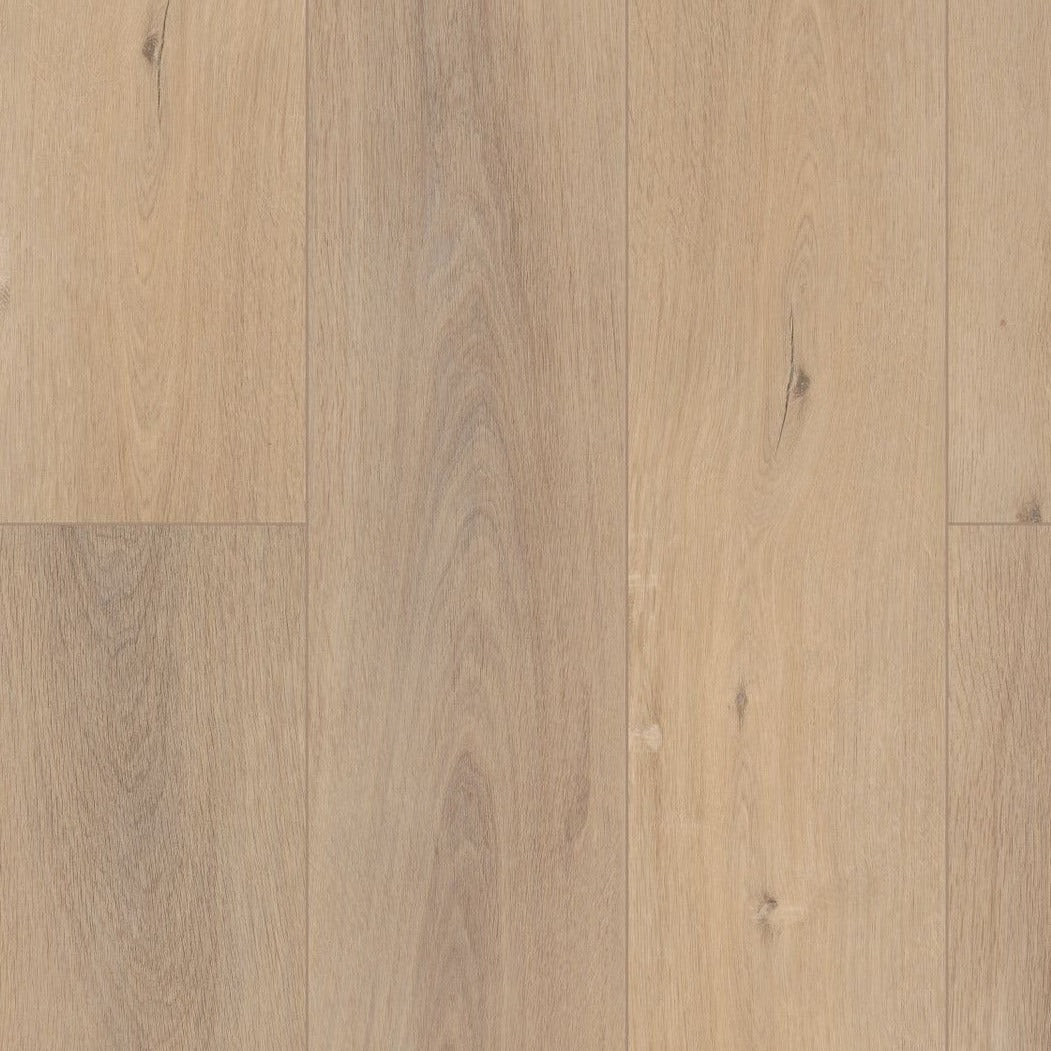
Are you considering installing Tarkett Optima Homogeneous Tile in your space? This blog post will guide you through the installation process, providing you with all the necessary information to ensure a successful and long-lasting installation.
What is Tarkett IQ Optima Homogeneous Tile?
Tarkett Optima Homogeneous Tile is a high-quality flooring solution that offers exceptional durability and performance. Made from a single layer of homogeneous vinyl, this tile is designed to withstand heavy foot traffic and resist stains, scratches, and wear. With its wide range of colors and patterns, Tarkett Optima Homogeneous Tile can enhance the aesthetic appeal of any space.
Why choose Tarkett IQ Optima Homogeneous Tile?
There are several reasons why Tarkett Optima Homogeneous Tile is a popular choice for commercial and residential spaces
-
Superior durability: Tarkett Optima Homogeneous Tile is engineered to last. Its robust construction ensures that it can withstand the demands of high-traffic areas without showing signs of wear and tear.
-
Easy maintenance: This tile is designed to be low maintenance, making it an ideal choice for busy environments. Regular sweeping and occasional damp mopping are all that's needed to keep it looking clean and fresh.
-
Stain and scratch resistance: Tarkett Optima Homogeneous Tile is highly resistant to stains and scratches, making it suitable for areas prone to spills and heavy use.
-
Hygienic: The non-porous surface of this tile prevents the growth of bacteria and mold, promoting a healthier indoor environment.
Installation process
Before you begin the installation process, it is important to gather all the necessary tools and materials. These may include
-
Tarkett Optima Homogeneous Tile
-
Tarkett 975 Two-Part Urethane Adhesive (if available)
-
Adhesive trowel
-
Utility knife
-
Straight edge
-
Measuring tape
-
Chalk line
-
Roller
Once you have all the required tools and materials, follow these steps for a successful installation
-
Prepare the subfloor: Ensure that the subfloor is clean, dry, and free from any debris or imperfections. If necessary, repair or level the subfloor before proceeding.
-
Acclimate the tiles: Allow the Tarkett Optima Homogeneous Tile to acclimate to the installation environment for at least 48 hours. This will help prevent any expansion or contraction issues after installation.
-
Layout the tiles: Start by determining the center of the room and snap a chalk line to create a reference point. Begin laying the tiles from the center, working your way towards the walls. Use a straight edge and utility knife to cut the tiles as needed to fit the edges of the room.
-
Apply adhesive: If using Tarkett 975 Two-Part Urethane Adhesive, follow the manufacturer's instructions for mixing and applying the adhesive. Use an adhesive trowel to spread the adhesive evenly on the subfloor.
-
Install the tiles: Press each tile firmly into the adhesive, ensuring proper alignment with the adjacent tiles. Use a roller to ensure good contact between the tile and adhesive.
-
Finishing touches: Once all the tiles are installed, allow the adhesive to cure according to the manufacturer's instructions. Trim any excess adhesive or protruding edges using a utility knife.
Following these steps will help you achieve a professional and long-lasting installation of Tarkett Optima Homogeneous Tile. Remember to refer to the manufacturer's installation guidelines for specific instructions and recommendations.


