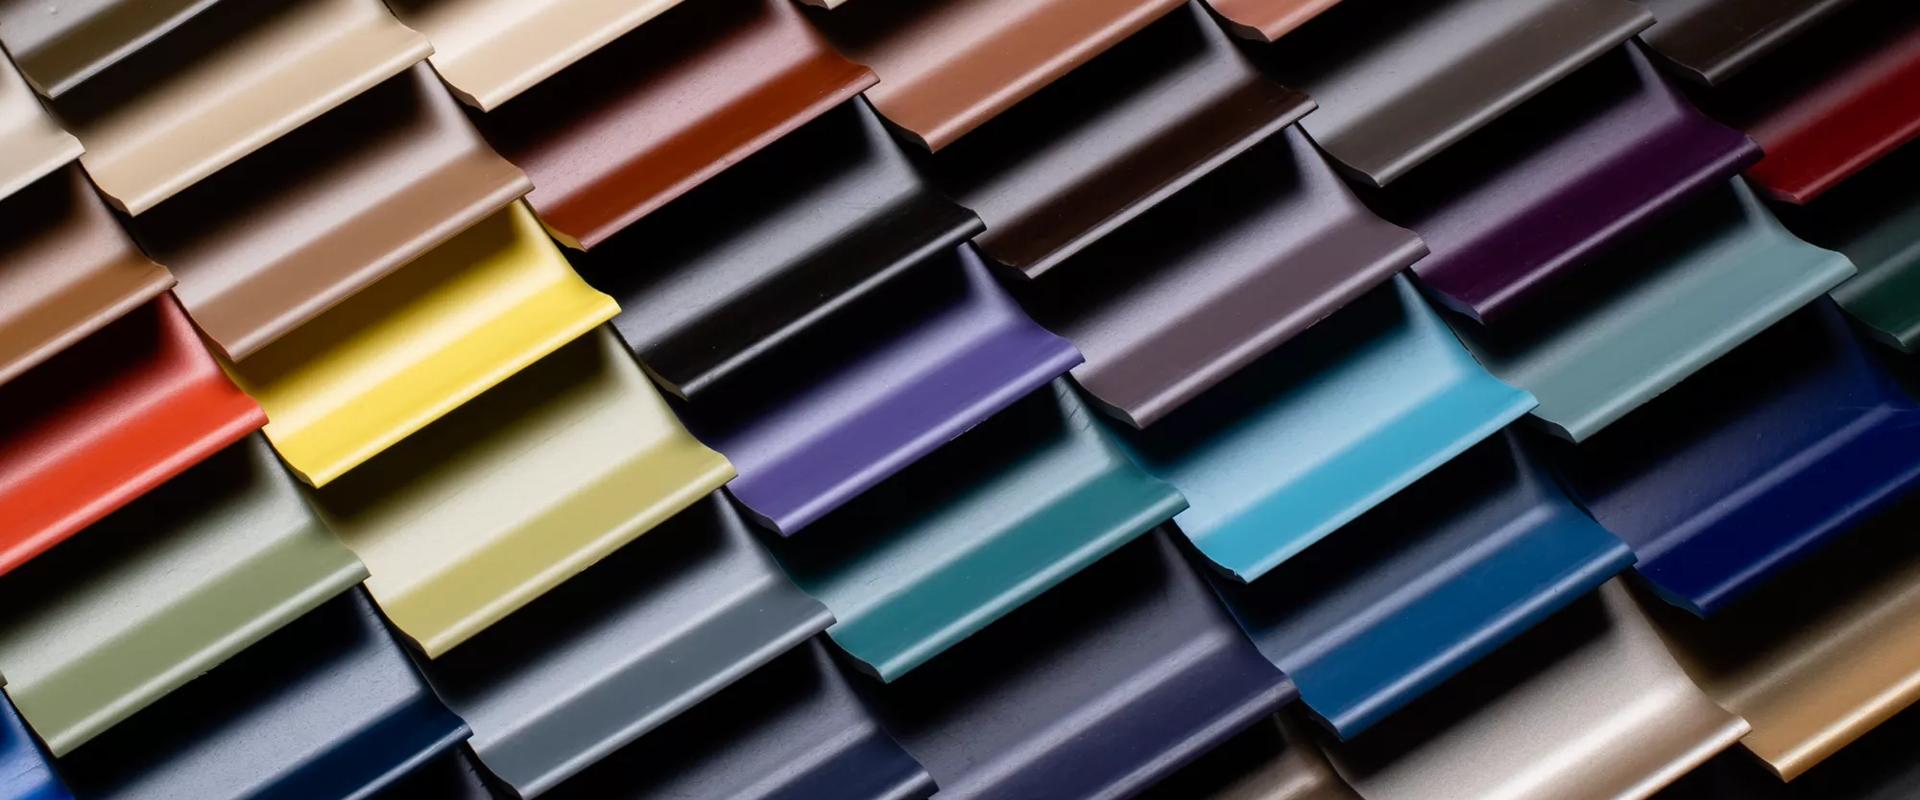
Are your walls looking dull, tired, and in desperate need of a makeover? Look no further than Tarkett Wall Base! With its wide range of colors, styles, and materials, Tarkett Wall Base is sure to transform your walls into a stunning focal point in any room. In this step-by-step tutorial, we will guide you through the process of installing Tarkett Wall Base, ensuring a professional and flawless finish.
Step 1: Gather Your Materials
Before you begin, make sure you have all the necessary materials at hand. You will need Tarkett Wall Base, a measuring tape, a miter saw or a coping saw, an adhesive, a caulk gun, a putty knife, and a level. It's always a good idea to wear protective gloves and eye goggles during the installation process.
Step 2: Measure and Cut
Start by measuring the length of the walls where you want to install the Tarkett Wall Base. Use the measuring tape to ensure accuracy. Once you have the measurements, mark the length on the Wall Base and cut it using a miter saw or a coping saw. For corners, use a miter saw to create a perfect angle.
Step 3: Prepare the Walls
Before applying the adhesive, it's important to prepare the walls properly. Remove any existing baseboards or trim. Clean the walls thoroughly to ensure a smooth surface for the Wall Base. Fill any gaps or cracks with a putty knife and let it dry completely.
Step 4: Apply Adhesive
Using a caulk gun, apply a thin and even layer of adhesive to the back of the Wall Base. Be careful not to apply too much adhesive, as it can seep out from underneath and create a messy finish.
Step 5: Install the Wall Base
Carefully align the Wall Base with the wall and press it firmly in place. Use a level to ensure that it's straight. For corners, use a miter saw to cut the Wall Base at an angle that matches the corner of the wall. Apply adhesive to the cut end and press it firmly against the corner.
Step 6: Finishing Touches
Once all the Wall Base has been installed, use a damp cloth to wipe away any excess adhesive. Allow the adhesive to dry completely before proceeding to the next step. Once dry, use a caulk gun to apply caulk along the top edge of the Wall Base to create a seamless and polished look.
Step 7: Enjoy Your Transformed Walls

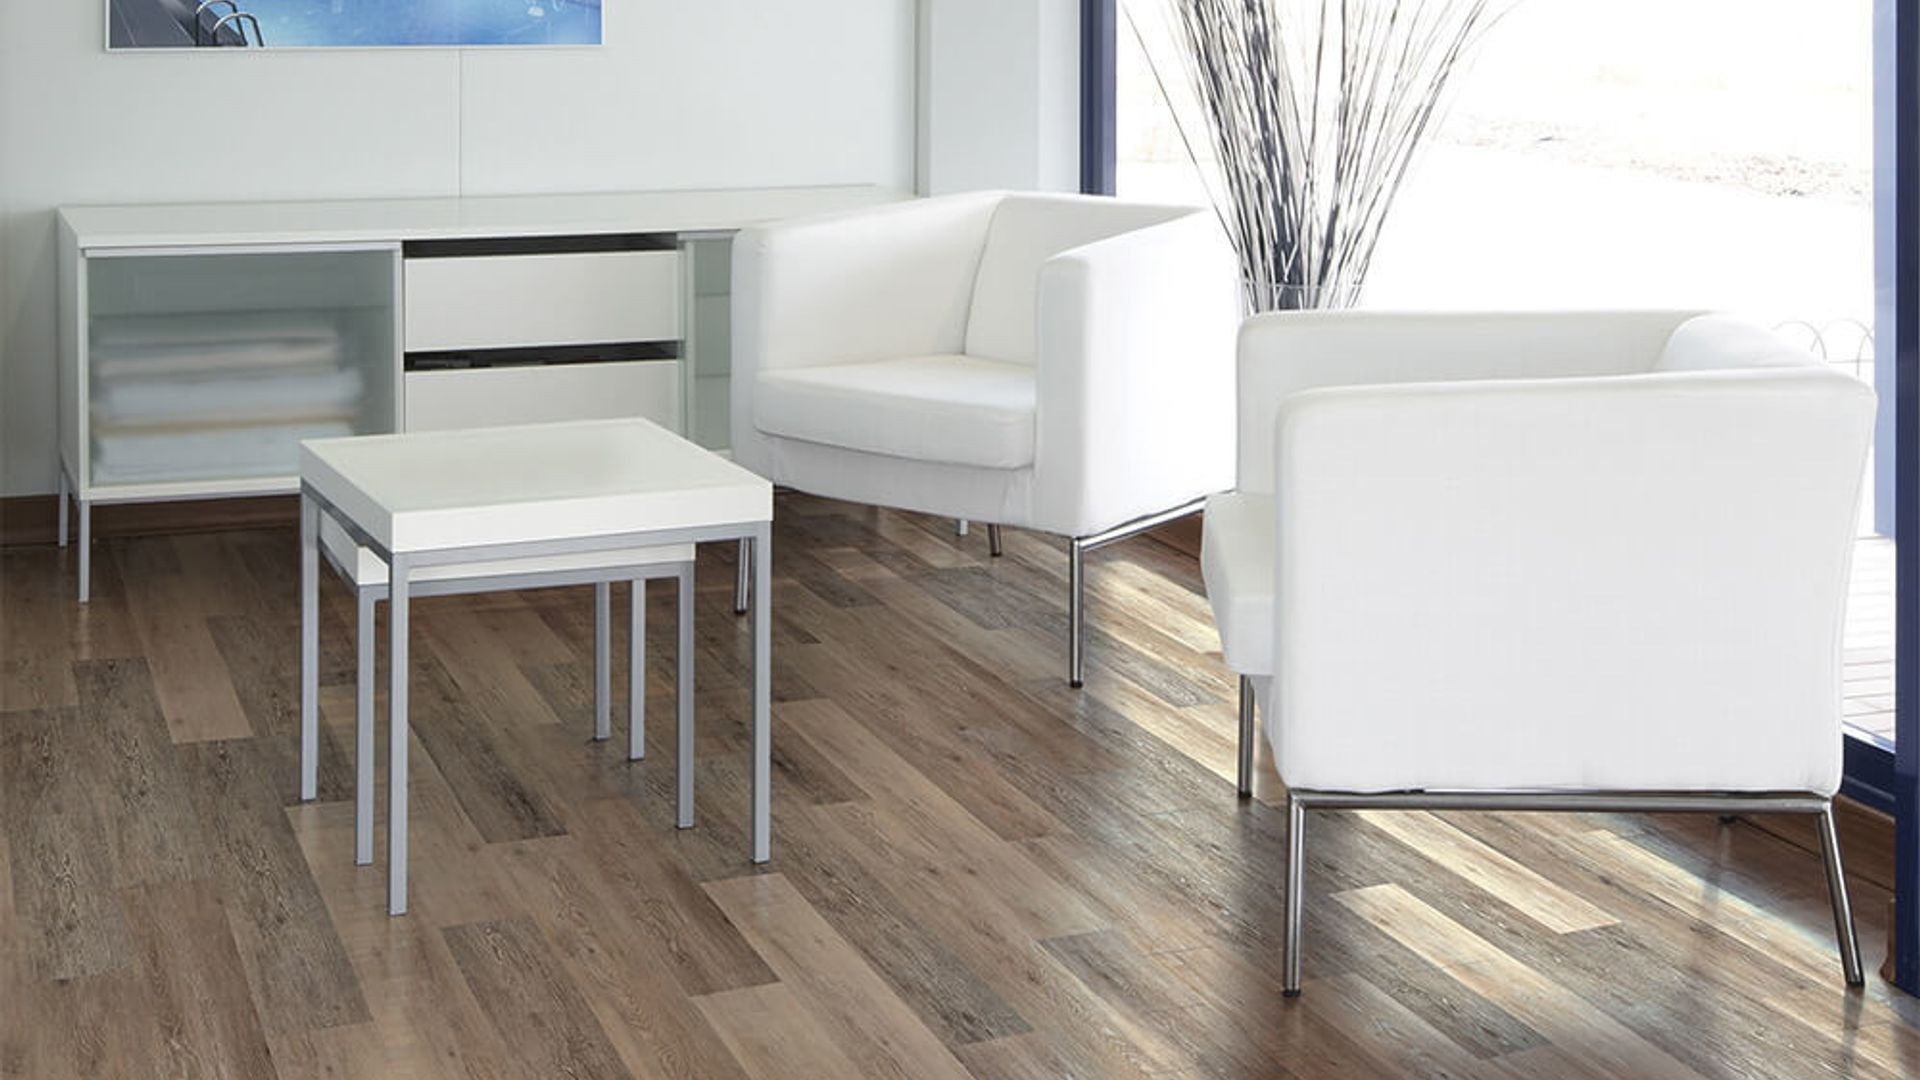
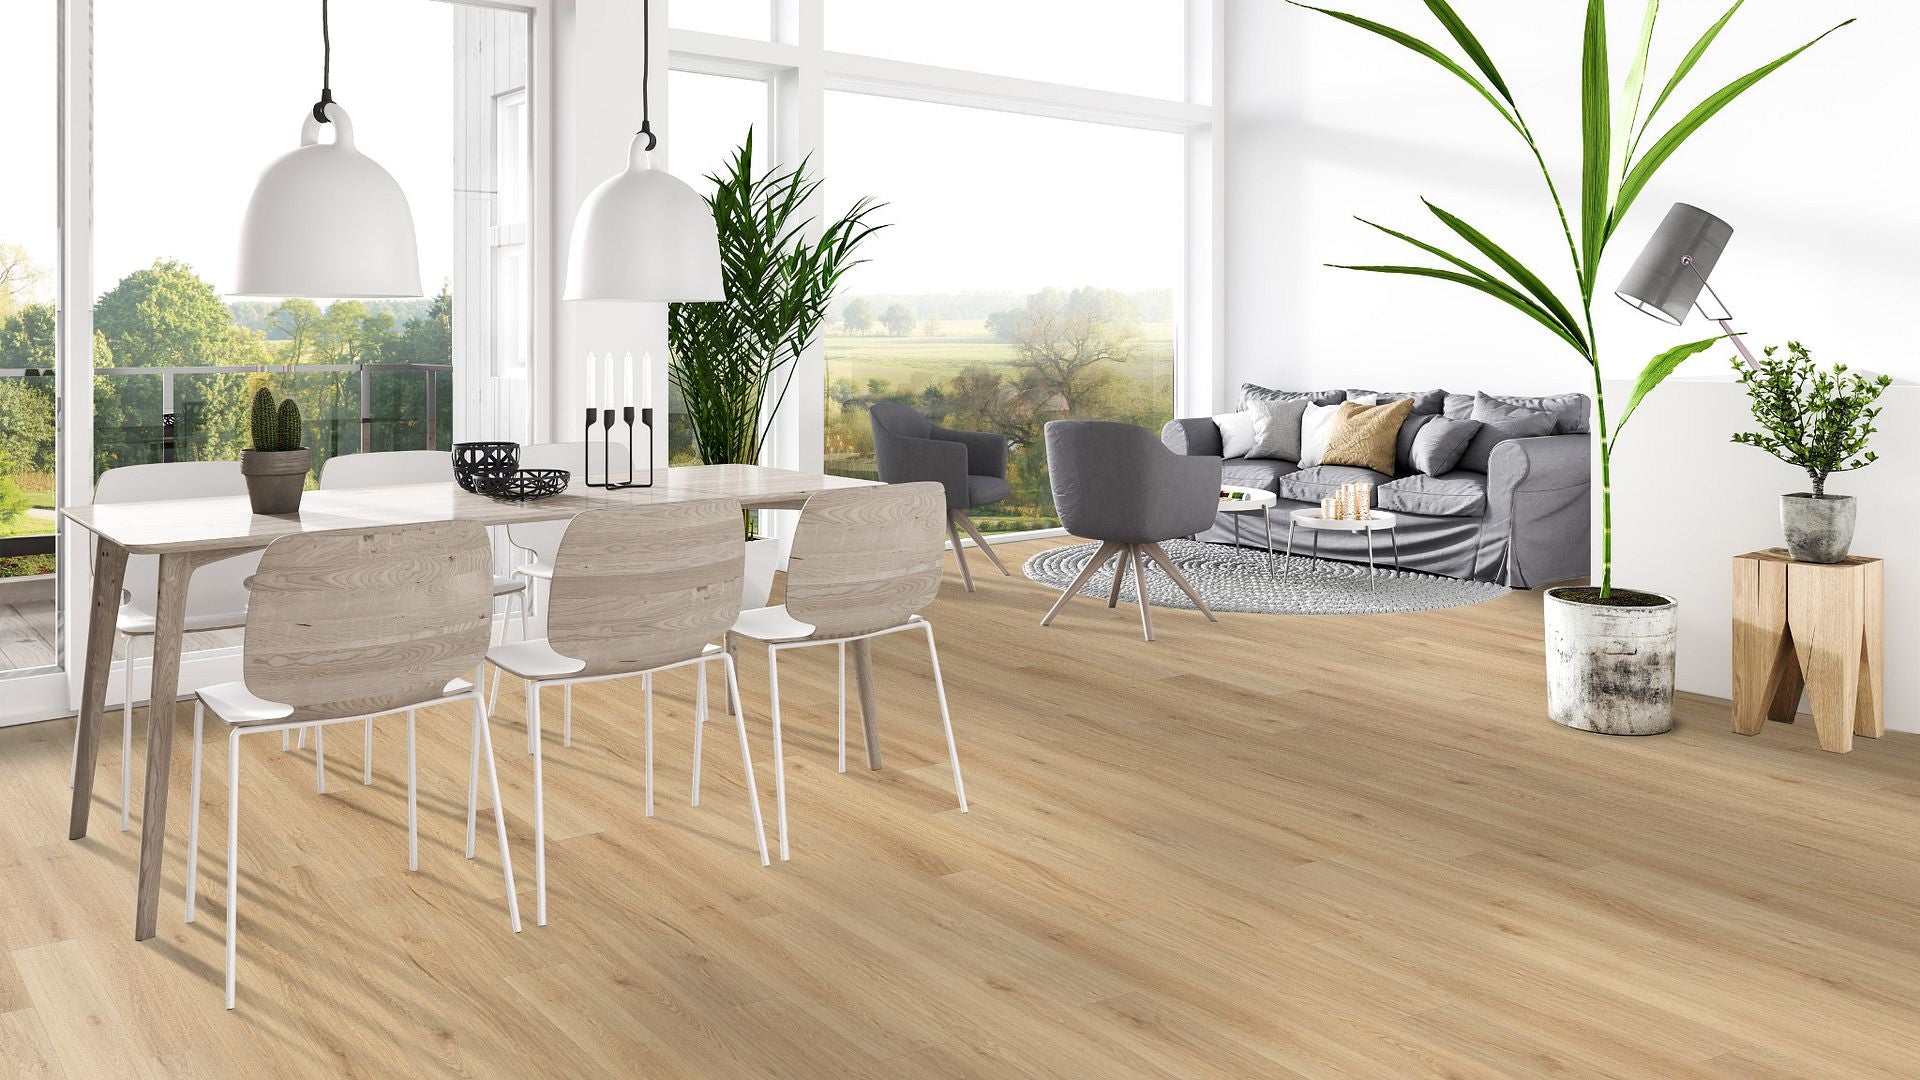
Congratulations! You have successfully transformed your walls with Tarkett Wall Base. Stand back and admire the stunning result. The Wall Base not only adds an aesthetic appeal to your walls but also protects them from scuffs and scratches.
In conclusion, Tarkett Wall Base is a game-changer when it comes to wall transformation. By following this step-by-step tutorial, you can confidently install the Wall Base and achieve a professional and flawless finish.
So why wait? Get started on transforming your walls today and enjoy the beauty and durability that Tarkett Wall Base brings to any space.