Armstrong Safety Zone Sheet

In healthcare, education and many retail spaces, such as grocery produce sections - there are areas that require enhanced traction for safety underfoot. Armstrong Safety Zone Sheet vinyl flooring is a slip-resistant floor ideal for areas that require that extra measure of safety, delivering enhanced traction. Invest in roll vinyl flooring today and save time during installation.
Tile and Sheet Safety Floors
Armstrong commercial grade vinyl sheet flooring provides dynamic underfoot safety using slip-resistant particles, that activate when compressed to supply sure-grip texture underfoot with an easy-to clean, high stain resistant surface.
2016 ADEX PLATINUM AWARD
Did you know that Armstrong Commercial Flooring’s Safety Zone Sheet was named a Platinum winner at the 2016 Awards for Design Excellence (ADEX) awards? The slip-retardant vinyl sheets provide a through-pattern construction in a dense, de-aerated formulation for lasting safety resistance in high-traffic conditions. ADEX is the largest and most prestigious awards program for product design of furnishings marketed through the design trade.
Safety Zone Sheet Vinyl Colors
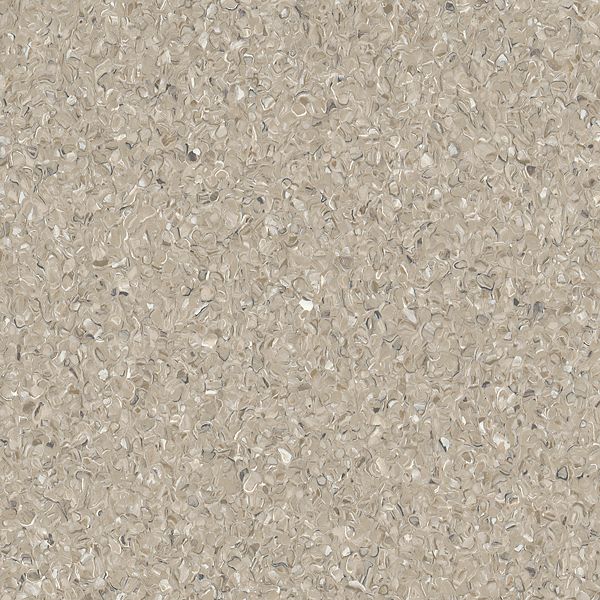
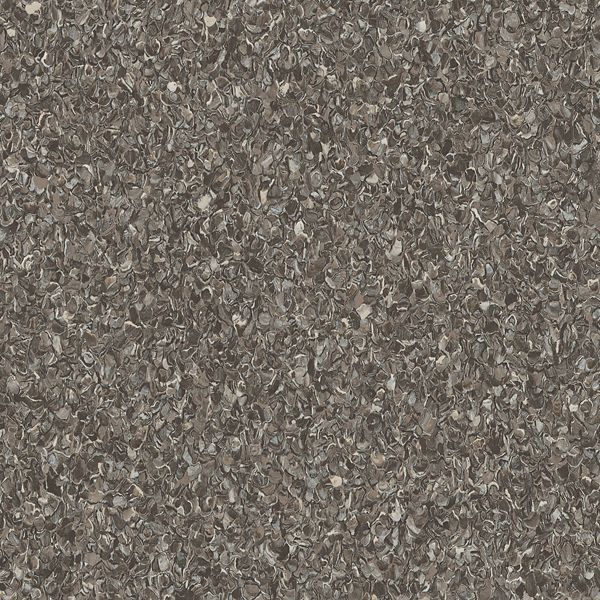
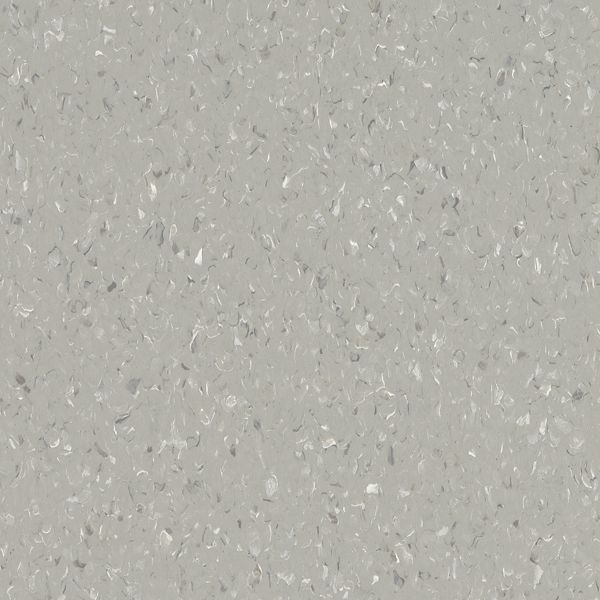
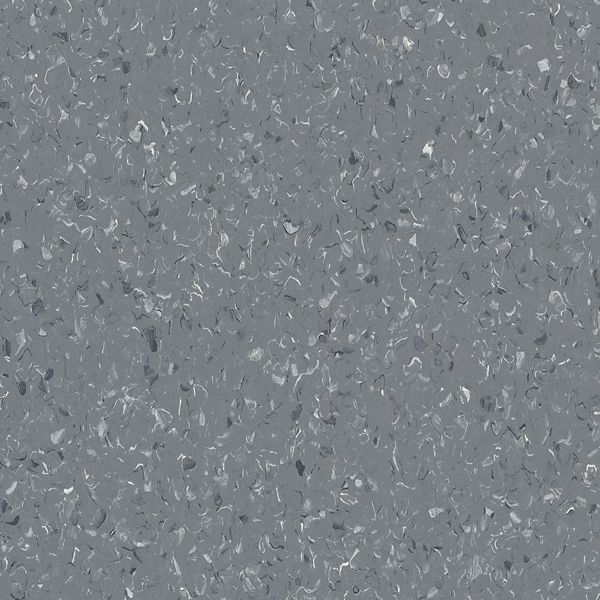
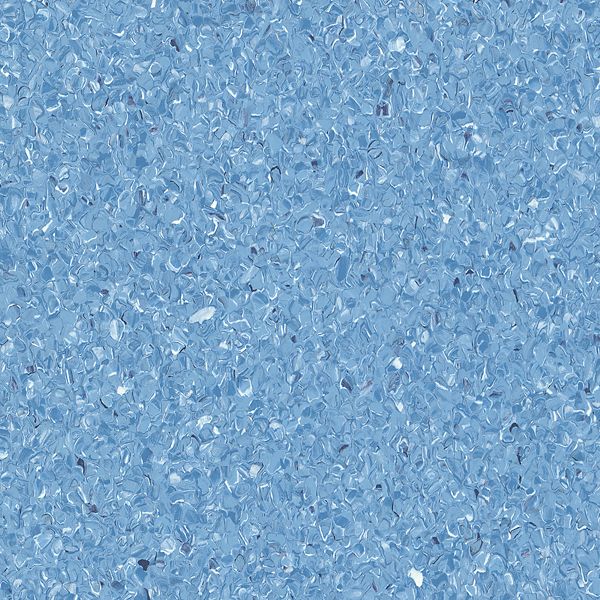
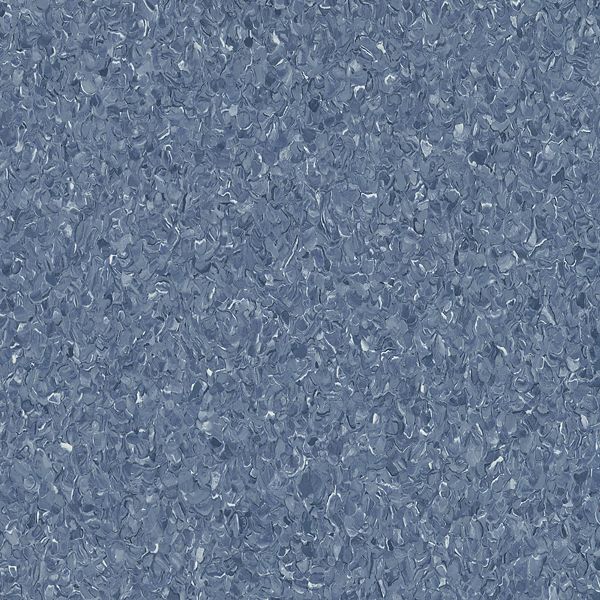
31504 Breeze; 31503 Ecotone; 31505 Grasslands; 31507 Mountain Top; 31506 Oceans; 31502 Outer Space; 31500 Saddle; and 31501 Smokey.
Safety Zone Sheet Slip-Retardant Flooring Installation
Approved Subfloors: Concrete (on or above grade); Suspended Wood; Ceramic Tile, Terrazzo, Marble; Steel, Stainless Steel, Aluminum; Existing Resilient Floors; and Polymeric Poured (seam less) Floors.
Sheet Installation System: S-599 Vinyl-Backed Sheet Flooring Adhesive; S-543 Vinyl-Backed Sheet Flooring Adhesive; Flip Spray Adhesive; S-240 Epoxy Flooring Adhesive; and Perimeter Plus (S-240 perimeter).
Seams: Recess scribe; must be heat welded. Heat-welded seams require the use of heat-welding equipment. Some experience is required to achieve a satisfactory seam.
Fitting: Knifing, straight scribing, pattern scribing.
Flash Coving: Easily coved; use S-580 Flash Cove Adhesive. Apply with a brush – 3” on the floor as well as up the entire cove area. Allow adhesive to dry to a pressure sensitive state. Adhesive has unlimited working time.
Vinyl Sheet Adhesives: Armstrong S-599; S-580; S-543; S-240; and Flip Spray.
SPECIAL PRECAUTIONS AND RECOMMENDATIONS
Conduct the Bond and Moisture Test. Moisture testing must be conducted in accordance of ASTM 1869 or ASTM 2170. n Do not place the flooring into the adhesive too soon as it may cause bubbling of the Safety Zone Sheet flooring. n Do not install Safety Zone Sheet flooring over asphalt tile or any adhesive residue. n Do not install Safety Zone Sheet flooring below grade.
INSTALLATION DETAILS
Depending on the requirements of the area, Safety Zone Sheet should be installed by one of the following procedures: S-599, S-543 or Flip Spray Adhesive - Porous and Absorbent Subfloors, Nonporous Substrates. When installing over porous and absorbent subfloors, such as approved concrete and wood, allow 10 to 20 minutes open time for the S-599 or S-543 Adhesive; Flip Spray Adhesive must be dry to touch.
Place the flooring into the adhesive and roll the material in both directions using a I00-lb. roller. The adhesive ridges should flatten to some degree after rolling. When installing over nonporous substrates, such as existing resilient flooring, allow the adhesive enough open time for it to dry until tacky (no transfer to the finger) before laying the material into it. Roll the material in both directions using a 100-Ib. roller. Adhesive ridges should maintain their definition after rolling.
NOTE: The amount of open time will vary according to job conditions (temperature, humidity, air flow, and type of substrate), but normally will require 30 minutes. Do not install the material if there are wet areas in the adhesive. If you cover wet areas or cover the adhesive too soon, blisters will form after rolling. Blisters caused by inadequate drying time will begin to show within one hour after rolling.
After the adhesive is ready to receive the flooring, place the material into the adhesive immediately. Use extreme care when positioning the material into the adhesive. The adhesive will have a firm grab. Position the material correctly the first time; it cannot be repositioned after it has been placed into the adhesive.
Roll in both directions with a I00-lb. roller, staying approximately 2” away from the seam area. S-240 Adhesive - Heavy Rolling Load and High Traffic. Full spreading of S-240 Adhesive is recommended in heavy rolling load and high traffic areas. Apply S-240 Adhesive using a fine-notched steel trowel, such as the Armstrong S-891 Notched Steel Trowel. Allow the S-240 Adhesive a minimum open time of 20 minutes.
PLACING THE MATERIAL INTO THE ADHESIVE TO SOON MAY RESULT IN BUBBLING OF THE SAFETY ZONE SHEET FLOORING: Working time of S-240 after spreading is approximately 1 hour. Roll the material with a I00-Ib. roller in both directions immediately after placing the material into the adhesive. Roll again within 1 hour in both directions. No traffic is recommended for a period of 24 hours after installation.
NOTE: When full spreading S-240 Adhesive, use a kneeling board to avoid kneeling on the material.
Perimeter Plus Installation System - Frequent Water Spills, Cooler Temperatures The Perimeter Plus Installation System is recommended in areas that may be exposed to frequent water spills and/or cooler temperatures. The Perimeter Plus Installation System is a full-spread of S-599, S-543 or Flip Spray Adhesive and a 3” band of S-240 Adhesive around the perimeter of the room.
Adhesive using a fine-notched steel trowel, such as the Armstrong S-891 Notched Steel Trowel. These areas include entryways, areas around freezers or refrigerator cases, and produce areas. Walk-off mats are recommended in areas that have excessive surface water.
HEAT WELDING: Seams may be recess scribed slightly open. Roll seams into place with a hand roller and roll again with a 100-lb. roller. Rout or groove the seams to a depth of l /2 to 2/3 the thickness of the material. Do not rout or groove completely through the product. Allow the heat gun to preheat for several minutes before starting to weld. Use the 4 mm round Heat Welding Nozzle.
After welding, allow the welding rod to cool to room temperature before skiving. Remove the excess welding rod in two passes. On the first pass, use a trim plate. Make the second pass with the skiving knife flush with the material. The two-step process will minimize concave seams. Try not to stop and start often while skiving. A smooth, continuous skiving motion will result in the best seams.
ABUTTING TO EXISTING RESILIENT FLOORING: When installing Safety Zone Sheet Flooring next to thicker materials, such as 1/8” tile, butt a 6” to 12” piece of S-153 Scribing Felt against the tile. Bond the S-153 Scribing Felt with S-235 Felt-Backed Sheet Flooring Adhesive. Use a fine-notched trowel over existing resilient floors and a standard-notched trowel over approved concrete or wood.
Use Armstrong S-184 Cement-Based Patch & Skim Coat, Armstrong S-194 Patch, Underlayment and Embossing Leveler to feather the edge of the S-153 Scribing Felt to the level of the concrete . Allow the S-184 Patch & Skim Coat to dry completely before installing the material. Before bonding the material, apply a 3” band of S-240 Adhesive where the Safety Zone Sheet is being abutted to the tile before full spreading the field adhesive.


